Container Gardening and Tomatoes
Container gardening and tomatoes really do go together. After all, you will still give the plant what it needs — good soil, plenty of water, fertilizer (organic or not) and lots of sunshine.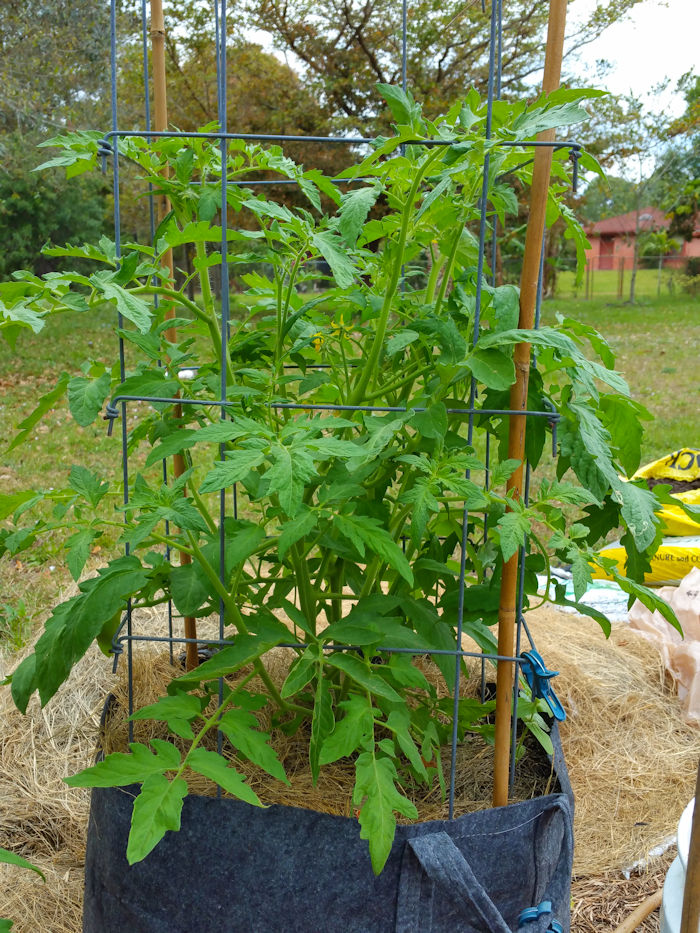
You’ll just be doing it in a different place.
Containers 101
You can’t just grab any old container and stick your tomato plant in it — as the old saying goes, “size matters”. You need to consider the size of the plant versus the size of the container. Typically, the container measurement will be in gallons.
For a determinate tomato, you can usually get away with a 5-gallon container, although a 7 gallon is nicer, if you can get one. Since determinate tomatoes have a limited lifespan, they are usually smaller — and sometimes a lot smaller. For the itty-bitty plants, you could even use a 3 gallon pot.
When it comes to the indeterminate plants, container size does make a difference, between a decent enough harvest and a good harvest. Most indeterminate plants are pretty darn big (I’ve had Brandywines grow to 6 feet tall and 5 feet wide when I let them), so your container needs to reflect that.
For these hefty plants, I use containers anywhere from 15 gallons (for the smaller ones) up to 25 gallons for the Brandywine and Kellogg’s Breakfast tomatoes.
Yes, you can grow indeterminate tomato plants in smaller containers; but when you have a big plant, anything smaller than 12 gallons will definitely sacrifice some tomato production.
With the exception of indeterminate dwarf tomatoes — you can go with a 7 gallon container, and even a 5-gallon for a smaller dwarf.
The Dirt on Soil
One of the downsides of moving to an all-container garden is that I have to buy a lot of soil. Nope, I can’t just shovel what’s on the ground into my containers. For one, I’d have a lot of big holes in the yard, LOL. Second, it wouldn’t be great soil for the most part. My compost pile won’t fill all the containers — what’s a person to do?
And that is to drive on down to the lawn and garden center and buy lots of bags of compost and potting soil. And when it turns out I made a bad choice in potting soil, I have to turn around and buy some perlite, vermiculite and/or sphagnum moss to amend my bad choice.
And when I get all those (very heavy) bags home, I still have to get that soil into the containers. So yeah, it’s a pain to move from in-ground to container gardening all in one fell swoop. But if you’re just trying out a couple of containers to get your feet wet, it’s really not bad at all.
What’s in Your Potting Soil?
I have learned that not all bags labeled potting soil are created equal. Some are really nice, others not so much. What you have to remember is that your plants need to be able to drink and breathe. It’s an important topic, so I have a whole separate post talking just about soil for container gardens.
Have you ever watered a planter that was filled with sand? You know that maybe 15 minutes after watering it, the soil is dry again. This means you need to increase the water-holding capacity of sandy soils.
What about a clay soil — water it, come back tomorrow and it might still be “clay soup”. In this situation, you need to increase the drainage capability.
So, compost is first on my list of “necessary ingredients” in a good potting soil, because it can both increase water-holding for sandy soil, and help with drainage on clay-based soils. However, compost alone might make the soil too heavy. Enter perlite, which lightens the soil, to give the roots breathing room.
(BTW, perlite is a natural substance, as are its comrades vermiculite and sphagnum moss.)
My current favorite ready-made potting soil is from Vigoro, in the orange bags labeled as organic. Very nice consistency, if a bit on the pricy side. I don’t have to add anything to it — just pour it into the container and plant away!
Surprisingly, Miracle-Gro’s potting soil leaves a lot to be desired — it’s very heavy and the bags I got were full of sticks (not my idea of proper drainage). I like most of their stuff, but the potting soil is low on my “buy again next time” list. I have had to add perlite and sphagnum moss to lighten it up some. Plus, I am not all that crazy about all the fertilizer they include in it.
Mixing Your Own
I think I’ll stop for now, since this has gotten fairly long, and write up a separate entry for ideas on mixing your own potting soil. So until next time — keep on growing!
Big Beef is Ready!
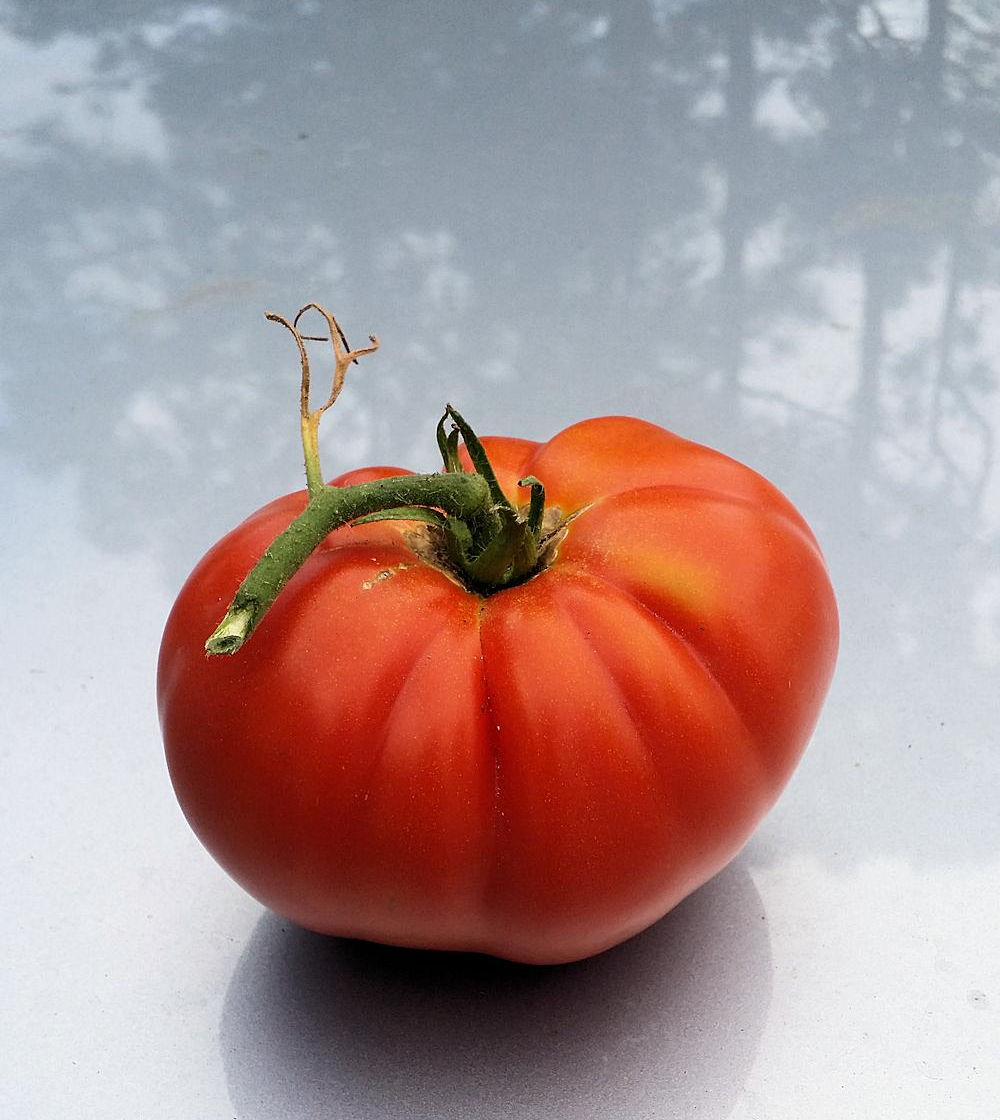
Big Beef Tomato
I just had to share this photo. I finally was able to pick my first beefsteak tomato of the season (Big Beef) and it’s gorgeous! The photo doesn’t give you an indication of size, but it’s a double-handful. My guess as to weight is just about 1 lb. You can click the photo for a bigger photo.
Picked This Week
I was able to pick quite a bit this week. Husky Cherry Red produced quite a few very sweet cherry tomatoes. I’m afraid they never make it to the house, as I tend to snack on them in the garden!
Juliet also had two ripe grape-shaped tomatoes. I haven’t tried them as yet, but I am hoping they are more flavorful this year.
Better Bush had several ripe tomatoes this week, and I see more that are ripening. The plant does look rather sad, but I am waiting until I have all the tomatoes harvested before removing it. It’s a determinate anyway, so it’s really given me most of this year’s harvest.
The one that I am most excited about – aside from my lovely Big Beef – are my Black Cherry tomatoes. I picked three of them today and they very much live up to their reputation. They are very sweet — almost like eating a piece of fruit. Which is of course appropriate, since technically tomatoes are fruits (berries, actually)
A Funeral This Week, Too
I pulled out one of my Isis Candy Cherry tomato plants — one of the big bushes. All the sudden it started looking…weird. It wasn’t the water problem, but I really didn’t like the looks of things. And since I have several more of the variety planted, I can afford to lose one.
And Coming Up
I have my seedlings for Rapunzel and Indigo Cherry Drops getting ready to go out to my new shade house. Loxahatchee (which I planted much later) still needs to spend some time under the grow light before I put it out in the shade house (i.e., my former greenhouse).
The shade house is where I will put some of my tomatoes, peppers and orchids. Part of my problem in my summer garden is that the sun is just way too strong — the plants don’t stand a chance come midday. The heat is also a problem. Well, the shade house will help with those problems immensely.
I’ll do some separate posts regarding the shade house and the grow light that I’ve been trying out. The grow light is rather exciting, because 1) I have never had such beautiful seedlings when growing on a windowsill (even a south-facing one). And 2) the grow light was really inexpensive, and I didn’t need any special setup.
So, that’s it for now — catch you later with more updates!
Tomato Garden Update – April 2016
It’s just past the middle of April, and so it’s time for garden updates — and this time, I have a video showing the plants and the tomatoes! So it’s not just photos, but lights! camera! action! 😉
Better Bush Tomatoes
But first, I said I’d talk about Juliet, Cherokee Purple and Husky Cherry Red (since I didn’t cover them in my last update).
The Good and the Bad
Let’s start off with the bad and work on up to the good. Cherokee Purple…may you rest in peace! I’m afraid the salt damage that most of the other plants kind of shrugged off was Cherokee Purple’s death warrant. Alas, it’s not a variety that can handle excessive sodium well. I had to just pull it out, and put it out of its misery.
Juliet is next on the list; the plant is not doing great (as you will see in the video), but it’s certainly not at death’s door. And unfortunately (kind of), it’s still setting tomatoes. You’ll hear why I say that in the video.
Husky Cherry Red is doing fine, aside from being targeted by birds! Apparently they love the sweet cherry tomatoes that the plant produces, so I had to wrap the plant up in insect netting. But at least now I get to eat the tomatoes instead of the birds beating me to them!
As for all the other plants — I’ve had ripe tomatoes to eat this past week — yum! Not all the plants have had fruits ripen as yet, but it’s mostly the big beefsteak tomatoes that are hold-outs. Then again, they are growing some really good sized fruit, so they can be somewhat excused. 😉
Video Walk-Through
So, here’s a video walk-through of the tomatoes. Keep in mind some of the salt damage that I have had. We’ve also had some days over 90 degrees Fahrenheit already, and then weather that is somewhat cooler than normal. I don’t think the tomato plants quite know what to do!
Anyway, hope you enjoy the walk-through. Meanwhile, my second wave of seedlings (Rapunzel, Indigo Cherry Drops and Loxahatchee) is almost ready to get potted up for the last time before heading out to the garden for their final planting. More on them later!
Garden Update – Tomato Explosion!
It’s the end of March, and the tomato plants are growing and blossoming and producing LOTS of tomatoes! But along with my successes, I’ve had a failure as well. Come on and let’s take the tour!

Big Beef Tomato
Big Beef – Wow!
My Big Beef tomato plant has gone through some tough times, what with multiple multiple transplantings, an ant invasion and losing some foliage. It did set a tomato shortly after Big Boy and Early Girl, and it has far outstripped those plants! It’s got the biggest tomato in the garden, and it is getting bigger every day.
Big Beef is a hybrid tomato, and produces red beefsteak-type fruits. I can’t wait to taste it when it ripens!
Black Cherry – Finally Hit Its Stride
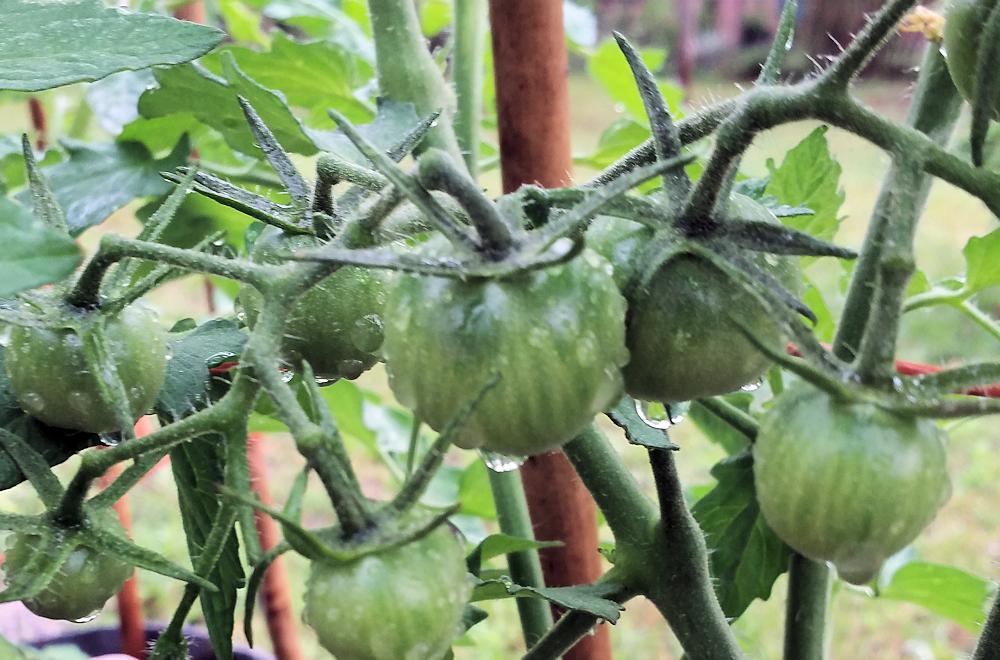
Black Cherry Tomatoes
My Black Cherry tomato plant took quite awhile to do anything. For several weeks it just sat in its pot and didn’t grow – not until I gave it a drink of worm compost tea. That perked it up, and now it’s flowering and producing cherry tomatoes with abandon. Black Cherry is an open-pollinated tomato plant (although sometimes it’s classed as an heirloom).
I’ve tried growing Black Cherry in the past, but one year almost my whole garden was decimated by hornworms – including Black Cherry. Another year I got rained out before I really got the plants started — that was my fault for starting so late. I am very much looking forward to the cherry tomatoes, as they are supposed to taste heavenly!
Better Bush Tomatoes
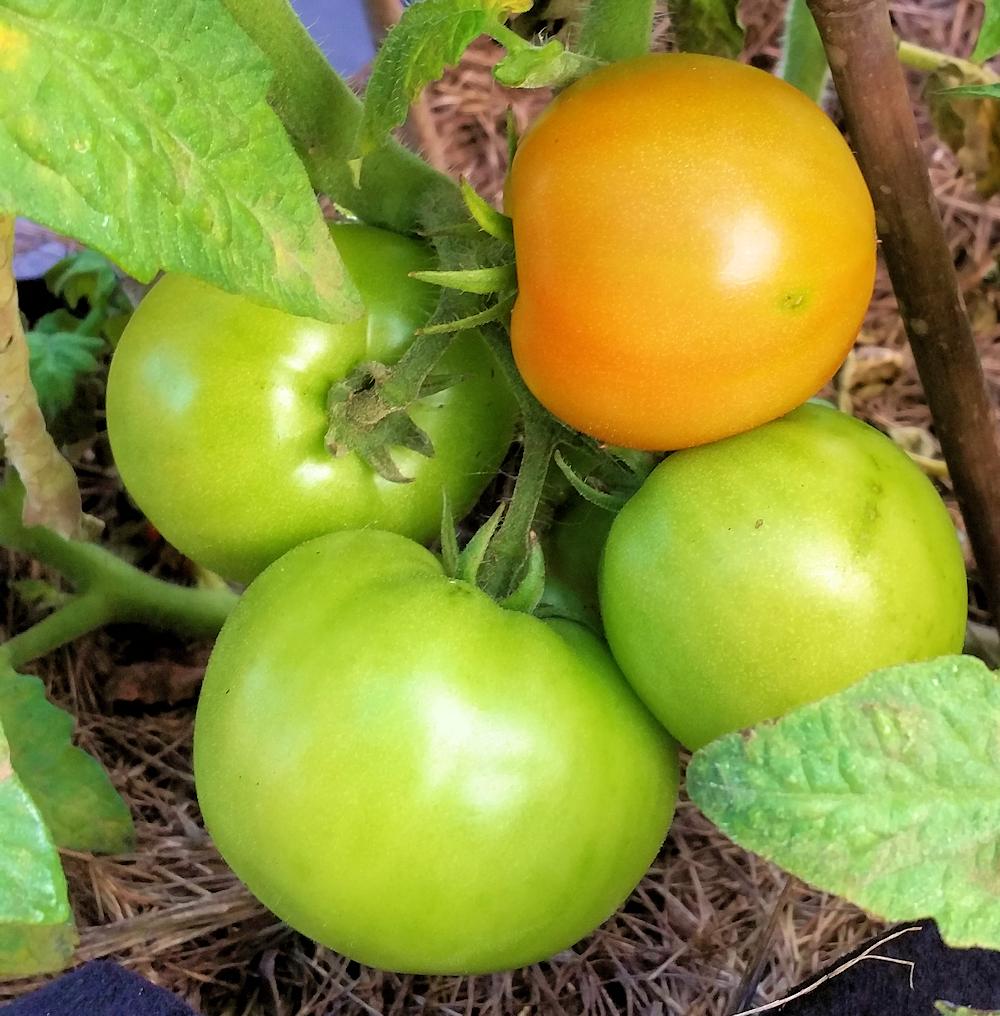
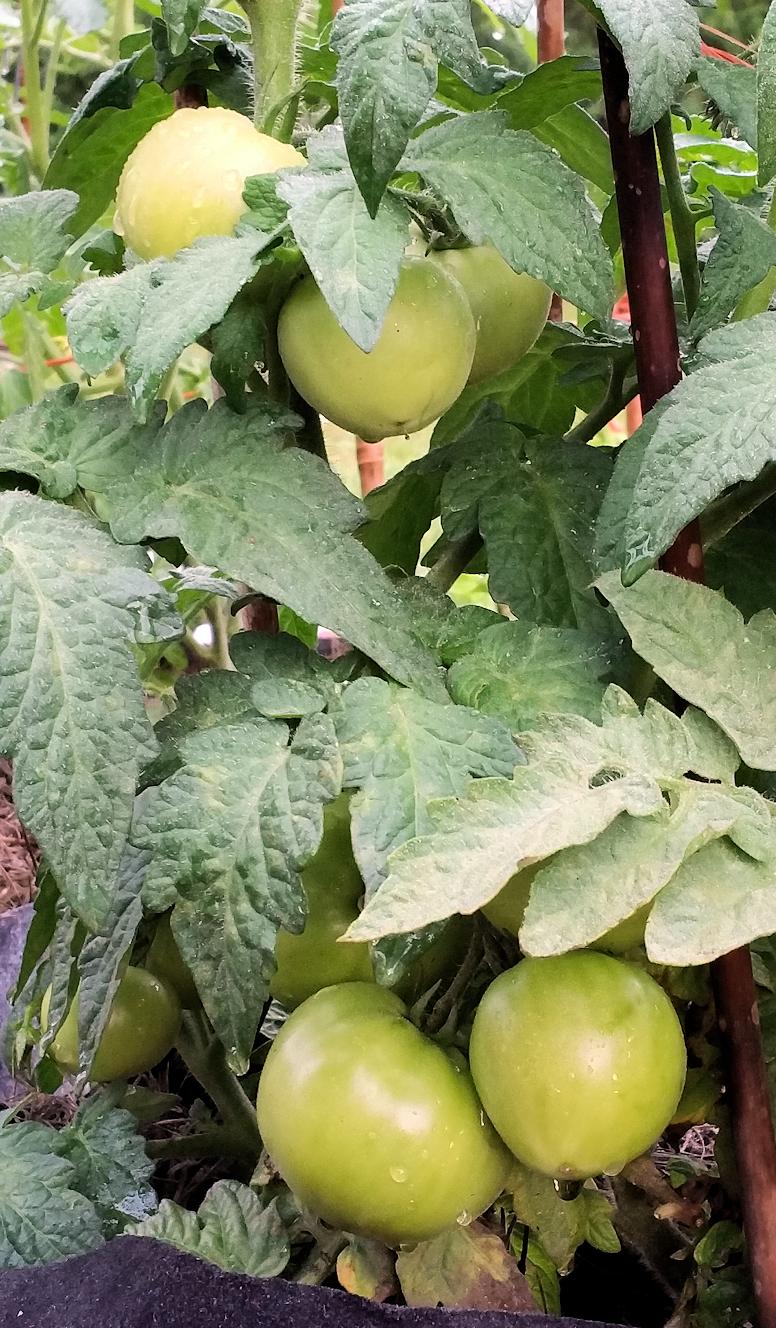
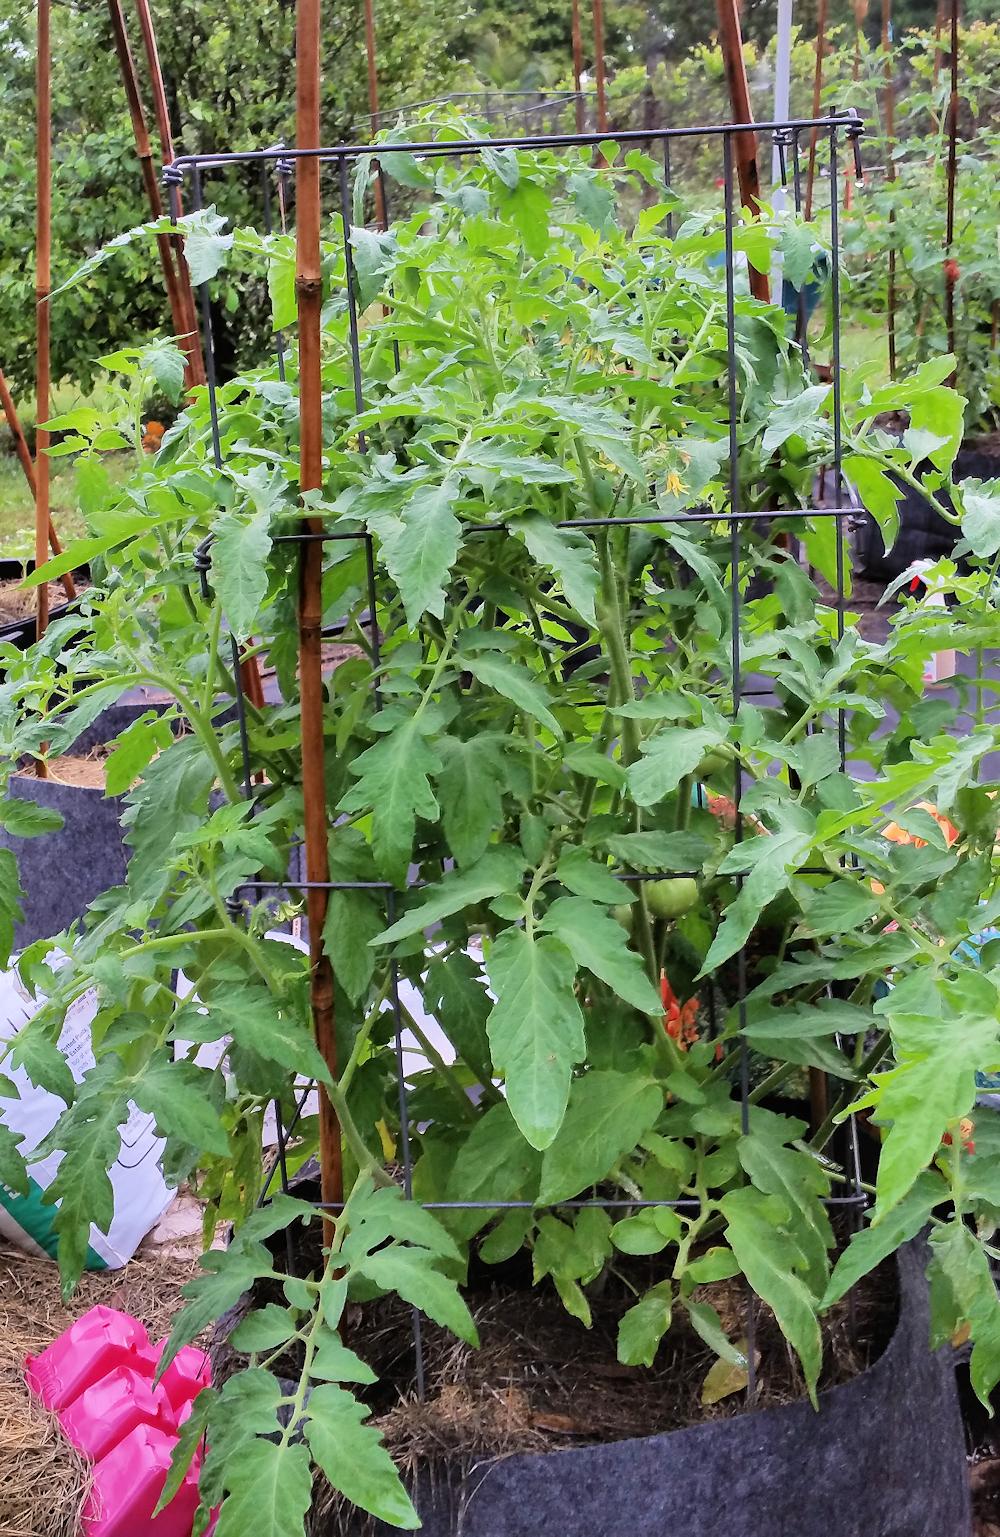
Better Bush
This is such a pretty plant – I love the rugose foliage and deep green color of the leaves. Better Bush is a determinate – the only one I have in the garden at the moment. It’s not a large plant at all, but it’s loaded with fruits. The tomatoes don’t get to be very large; maybe in the 3 to 4 ounce size range — but they are abundant. Better Bush is a hybrid.
I’ve grown this tomato variety in the past and it never fails to give me a nice harvest. It might not look it in the photo, but the plant actually has lots of tomatoes.
Maybe they aren’t the biggest tomatoes, but nevertheless they taste great when fully ripe. Yum!
Red Beefsteak
Red Beefsteak Tomato Plant
I have two of these open-pollinated tomato plants, and they are gorgeous at the moment — big and lush and full of both tomatoes and blossoms. One is doing slightly better than the other, but not by much. Even though they are container-grown, these should give me some 12 ounce to maybe a pound beefsteak-type red tomatoes. A lot of them. 😉
This plant in the photo, as well as its sibling, have reached the top of the cage already, and I have about 6 to 8 weeks of decent growing weather left (after which it gets super-hot). I expect that it will keep growing during the summer; I just don’t know how well (or if) it will produce fruit then.
BTW, having grown both in-ground and in large containers, I can say it’s a fallacy that you can’t get a good harvest of big tomatoes from a container tomato plant. But more about that in another post.
And the Big Disappointment….
Big Boy and Early Girl ran into a problem a couple of weeks ago — they got waterlogged. Between me getting a little over-zealous with watering, a plastic mulch cover that kept in the moisture and cooler temps, the plants were almost swimming. I corrected the situation, but they looked really sad — even though they both still had tomatoes. Both plants are hybrids.
Since then, Early Girl has perked up some; she’s put out new suckers, started flowering more and also setting more tomatoes. She still looks spindly but seems to be coming back from her near-drowning experience.
But Big Boy…I don’t think he’s long for this world. Almost overnight it’s developed what looks like rust on its leaves. Granted, we have had a lot of rain in the past week, but none of the other plants are reacting this way.
I’ll try some mild organic fungicide, but if it’s not showing signs of improvement in the next few days — out Big Boy comes, tomatoes or not. I have plenty of other tomato plants at the moment, so losing one isn’t the end of the world.
What’s Up Next?
In the next garden update, I’ll talk about the trials and tribulations of Juliet, and how Cherokee Purple and Husky Cherry Red are doing. Plus — I have the Isis Candy Cherry “wannabes” in the garden, and they are growing like there is no tomorrow. I’ll talk more about the experiment I plan to run on two of them, to see if some new organic supplements live up to their claims.
Are Bugs Bugging You? Insecticides 101
I don’t know about you, but insects seem to love my tomato plants. Some seasons the insects aren’t too bad – mainly a few tomato hornworms here and there. Other seasons make me think that a biblical plague has descended upon my garden!
I do try to garden without using insecticides as much as possible, but sometimes I have to throw in the towel and reach for my sprayer. I thought I’d share an “Insecticide 101” post with you. 🙂
Insecticides – What Are They?
It may seem kind of obvious, but these exist to hopefully get rid of the bad bugs (i.e. the ones that want to eat your veggies) and leave the good ones (the ones that pollinate and that eat the bad bugs). They can do it by any of several methods:
- Contact: Some pesticides kill on contact, so when the bugs get sprayed or walk onto it — bye-bye! This generally works on the insect’s nervous system.
- Mechanical: These are the ones that scratch the bug’s outer casing and thereby cause it to dehydrate. This also includes things like sticky traps.
- Ingestion: When the pest chomps on the plant where the insecticide is spread, it ingests it. The bug doesn’t die immediately, but rather within a day or two.
- Reproductive: This doesn’t necessarily kill the insect, but rather interrupts the reproductive cycle so that the they can’t multiply.
There are others, but the above are the main categories.
Organic Versus Chemical Pesticides
First, when you get down to it, everything is a chemical. However, for the purpose of this post, “chemical” refers to synthetic chemical pesticides. These are typically created in a lab, as opposed to existing in nature “as is”. Examples are things like DDT, organophosphates, parathion and chlorinated hydrocarbons.
Organic refers to those insecticides that are extracts of naturally occurring ingredients. Examples include pyrethrum, rotenone, neem and Bacillus thuringiensis (Bt).
****Very Important: Whether synthetic or organic, by their nature the vast majority of what we consider insecticides/pesticides are toxic, in varying degrees, to people and pets. Always, always, always read and follow the instructions on the label of whatever you purchase.
There are some like diatomaceous earth which are safe to ingest (if you get the food-grade version) and to use around pets, but by and large, treat all insecticides carefully.
I am the first to admit — when it comes to the fire ants that invade my garden, I do use synthetic pesticides — I’ve tried all kinds of organic versions, and they just don’t work. My only defense is to keep the fire ants as far away from my garden as possible, and to use as little synthetic pesticide as possible.
But when it comes to all other pests — my organic insecticides of choice are neem oil and Bt.
One Size Doesn’t Fit All
Unless you only have a specific kind of insect invader, you may need more than one type of pesticide at various points in the gardening season. For example:
- Rotenone is very effective on most types of beetles, but not as much on soft insects like caterpillars and worms. It is quite toxic to fish.
- Neem doesn’t kill directly, but is more of a repellent. It also works to inhibit insect eggs from hatching. Neem is one of the least toxic of the pesticides, but you should still use care when handling it. Interestingly, neem oil can also act as a mild fungicide.
- Pyrethrum is made from chrysanthemums, and it works by attacking the nervous system of insects. It also works as a repellant. It biodegrades quickly and is also among the least toxic to mammals and people – but quite toxic to fish.
- Bt is a bacteria that when ingested by insects, disrupts their digestive tracts. It’s typically used as a spray or a powder, and is most effective on soft-bodied insects — primarily worms and caterpillars that like to feast on your plants.
- Diatomaceous earth works mechanically, by abrading the insect’s exoskeleton. The bug then dies from dehydration. It also works as a flea powder around pets.
These aren’t the only organic insecticides that are out there, but they are the ones that you will come across most often in stores and online.
Which One Should You Use?
You should use what is best for your particular insect problem. You need to know your enemy (which bugs are bugging you), and then choose the insecticide that will be effective against those insects.
Also keep in mind that some insecticides are not made to be used around vegetable plants — they don’t biodegrade well, and you could potentially ingest their residue. Others are safe to use in a vegetable garden, up to the day of harvest. Once again, read the label and follow the instructions — don’t guess!
I hope this has been helpful to you. Now excuse me while I go check my tomatoes to make sure I haven’t had a caterpillar or hornworm invasion and need to get out the Bt!