hydroponic tomatoes
DIY Indoor Hydroponic Tomatoes
DIY indoor hydroponic tomatoes have caught my attention recently, thanks to my husband. He was browsing on the internet and somehow came across some ebooks on hydroponics, and he bought them for me. Seeing as the soil here in Tennessee (at least in my yard) is clay and rock (yikes!) I had planned on growing tomatoes in containers. Well, hubby thought that if I planned to do containers, why not hydroponics?
No lugging home bags and bags of potting mix, compost, perlite, etc. and getting dirty in the process. (I had calculated I would need something like 10 bags (40 lbs each) of potting mix, another 10 to 15 of compost, plus the perlite, vermiculite and such to start from scratch up here.)
Hydroponic Ebooks and Their Effect
So, I read the ebooks, and it didn’t seem to be very feasible for me. All those pumps and airlines, flowing water, misters and so on. The garden area I have picked out has 1) no water and 2) no electricity. The nearest hose bib is about 50 or so feet away, and there are zero electrical outlets.
Just for fun, I went onto Amazon and looked up some hydroponic systems, and I wasn’t overly fond of some of the full-blown systems. They were actually less expensive than I thought they would be, but they seemed to be more for leafy veggies and herbs than tomatoes, peppers, cucumbers, etc.
Then I came across something very, very intriguing.
Enter the Kratky Method of Hydroponics
Hmmm, here was something interesting! Dr. B.A. Kratky of the University of Hawaii came up with a hydroponics system that required no pumps, no circulating water, no mister, no electricity. The setup described seemed perfect for growing just about anything…like tomatoes and peppers and cucumbers. Lettuce, herbs, flowers, squash — a multitude of plants.
Wow — no electrical outlets needed, no misters, no hoses! It’s a “set it and forget it” system.
I’ll write up a whole post about the Kratky Method (as it is now known) and how it works, but it seems to be very easy to set up. Pick a good sized container, cut some holes in the lid, grab some net pots and fertilizer, add water and you’re good to go. (Yes, there is a little more to it than that, but it’s a broad outline)
Growing Tomatoes in a DIY Hydroponic Setup
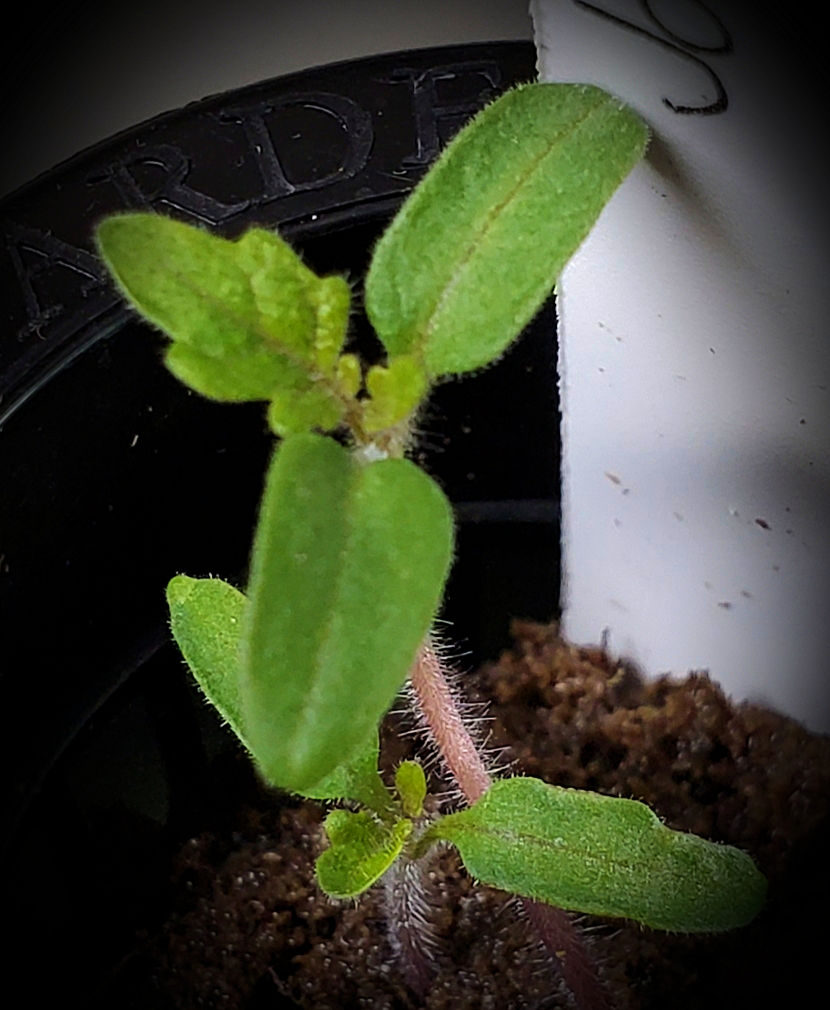
It’s still Winter, and here in Eastern Tennessee it’s still pretty chilly at night — in the 30s, and the days are in the upper 40s. But it’s not too soon to start seeds! And I have decided to run a test for growing some micro-dwarf tomatoes indoors using a very, very DIY (and very inexpensive) setup. Like a gallon water jug, some fertilizer, a net pot and good lighting. Oh, and tomato seedlings!
Growing Indoors – and a Test!
The test will also be comparing growing the tomatoes in a hydroponic setup versus a grow bag. I’ve picked the tomato variety Red Robin since it’s a micro-dwarf (only getting 8 or so inches tall).
I’ll have the hydroponic tomato plant in a 1-gallon water jug, and the other plant in a 1-gallon grow bag with a potting mix. They will be growing side-by-side in a south-facing window, and I will also have some supplemental lighting.
Container Gardening Too
Not to fear, I will still be doing some regular container gardening with my grow bags. I’ve had plenty of experience with grow bags, and none with hydroponics. I want to make sure that if I do something wrong with the hydro, I’ll still have some plants growing the usual methods! (Gotta have some homegrown tomatoes, in any way I can get them.)
So look for more posts on the Kratky hydroponics setup, how the plants are growing, and tomatoes in general. It should be a very interesting gardening year!