GMO, Non-GMO and Tomatoes
There’s a lot going on these days with GMO versus non-GMO food. Some say GMO food is fine, some say it’s unhealthy and others don’t have an opinion either way. So what’s the scoop with GMO as it relates to tomatoes?
GMO – A Quick Summary
GMO stands for “Genetically Modified Organism”. It means that an organism has basically been artificially modified in some way, at a genetic level. In looking at Wikipedia, the definition is:
“A genetically modified organism (GMO) is any organism whose genetic material has been altered using genetic engineering techniques (i.e. genetically engineered organism).”
By this definition, genes can be moved around in an organism, but no genes from another organism are introduced. However, there is a specific kind of GMO called transgenetic, and it does involve splicing genes from something else. Again per Wikipedia:
“A more specifically defined type of GMO is a “Transgenic Organism”. This is an organism whose genetic makeup has been altered by the addition of genetic material from another, unrelated organism.”
In either case, genes are artificially changed in some way.
What Are Hybrids? Are They GMOs?
Hybrids are crosses between closely related plants or animals. For example, you may want a tomato that tastes like Pink Brandywine, but you want it to ripen much earlier and be only about 2 ounces in weight. To get this, you could cross a Pink Brandywine with an earlier and smaller-sized tomato. The seeds of that cross would have traits from both Pink Brandywine and the other tomato parent. (Note: This is a very simplistic explanation of hybridization; for more information see my post on tomato hybrids.)
Hybrids are not the same as GMOs. For example, you could not cross a Pink Brandywine tomato with a cayenne pepper and get a tomato that is spicy with capsaicin. Tomatoes and peppers are not closely enough related for them to cross with each other and create a hybrid.
You could, however, genetically engineer a tomato to be spicy by introducing a gene for capsaicin production — this would be classified as a GMO.
Are All GMOs Bad?
I don’t know that I can definitively answer that, but personally I would rather stay away from them in my food.
However, here is something to think about. An organism can, spontaneously mutate and change its genetic makeup. Or, if can be bred to display a specific trait, and during the process some other undesirable trait can be expressed.
An example of this is with modern wheat, which has been modified through selective breeding to have more genes than older varieties of wheat. Those extra genes are thought to be responsible for much of the gluten sensitivity that we see in today’s society. No labs were involved, just many years of selective breeding.
And yes, I do try to stay away from wheat in my food. I also stay away from grocery-store corn. Where I live in Florida, a lot of corn is grown for the food market. These days, it’s the GMO corn that makes it resistant to herbicides — i.e., the “Roundup Ready Corn”. There is also a corn that has the genetic material for the Bt (Bacillus thuringiensis) bacteria, which acts as an insecticide. I’m not exactly thrilled with the thought of eating an herbicide or pesticide that is impossible to wash off.
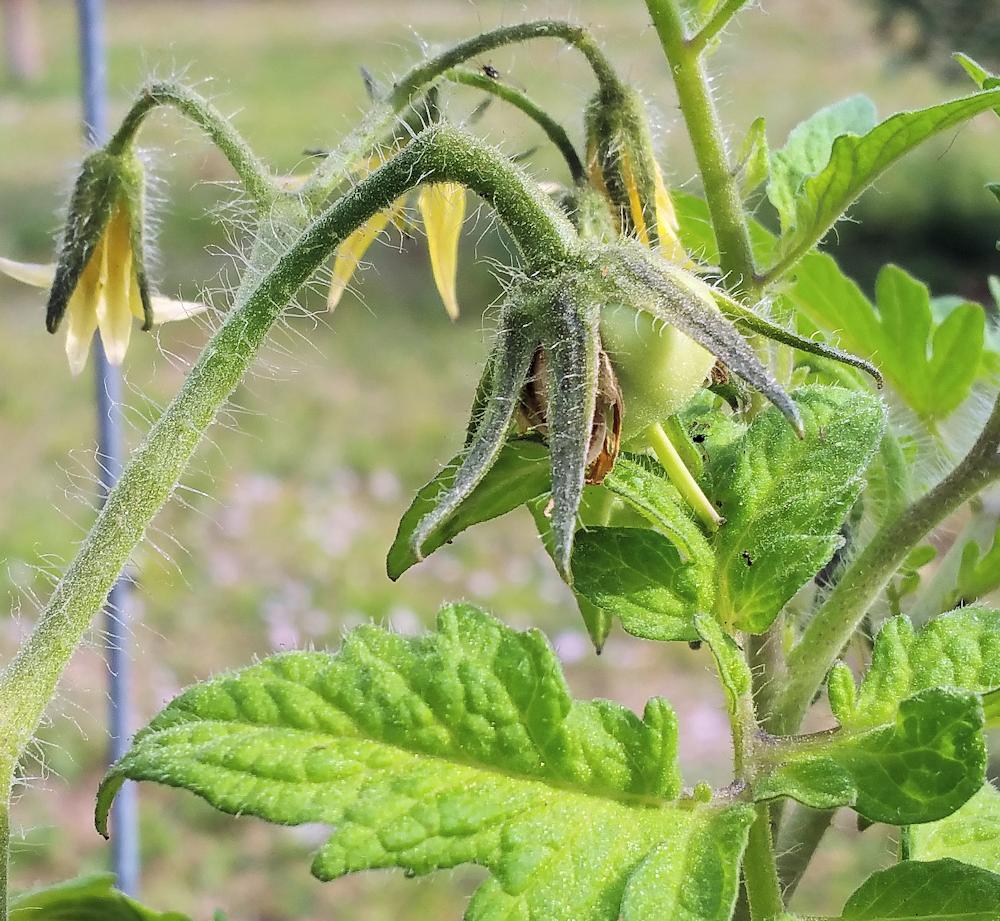
How do Tomatoes Fit In?
To the best of my knowledge, there are no GMO tomato varieties – yet. Grocery store tomatoes are safe in that respect — they just don’t taste very good. 😉
Hybrid tomatoes are not evil either; there are plenty of good ones out there. And in fact you can breed (i.e. hybridize) your own tomato variety if you wish. No labs, just testing various crosses between tomato parents until you get the traits you want. Which can take one growing season or many.
And by the way, non-GMO and organic do not mean the same thing. A tomato can be non-GMO but grown with chemical fertilizers and/or pesticides. So don’t assume tomato seeds that are listed as “non-GMO” are automatically organic.
Hopefully I’ve been able to help you understand GMOs a little better. You will have to make up your own mind, but for my part I’m glad that tomatoes are safe for the moment!
Compost Tea – How to Make It
If you’ve been gardening for awhile (and maybe if you’ve just started), you’ve likely heard about something called “compost tea”. It’s organic, good for your plants and acts as a fertilizer. And while you will have to make it yourself, it’s pretty easy. Want to learn more about this tea — how to make it and how to use it? Read on!
What is Compost Tea?
It’s kind of what it sounds like — a liquid that is created from compost and/or additional ingredients. It can be a “steeped” variety, or a “brewed” variety. They both feed the soil, which in turn feeds the plants. However, they go about that feeding in a different manner.
Depending on what you put into the tea, it can act as a fertilizer, a (good) bacterial/fungal agent, or both. It can be watered in or used as a foliar feeding. Let’s find out what’s needed to make this tea.
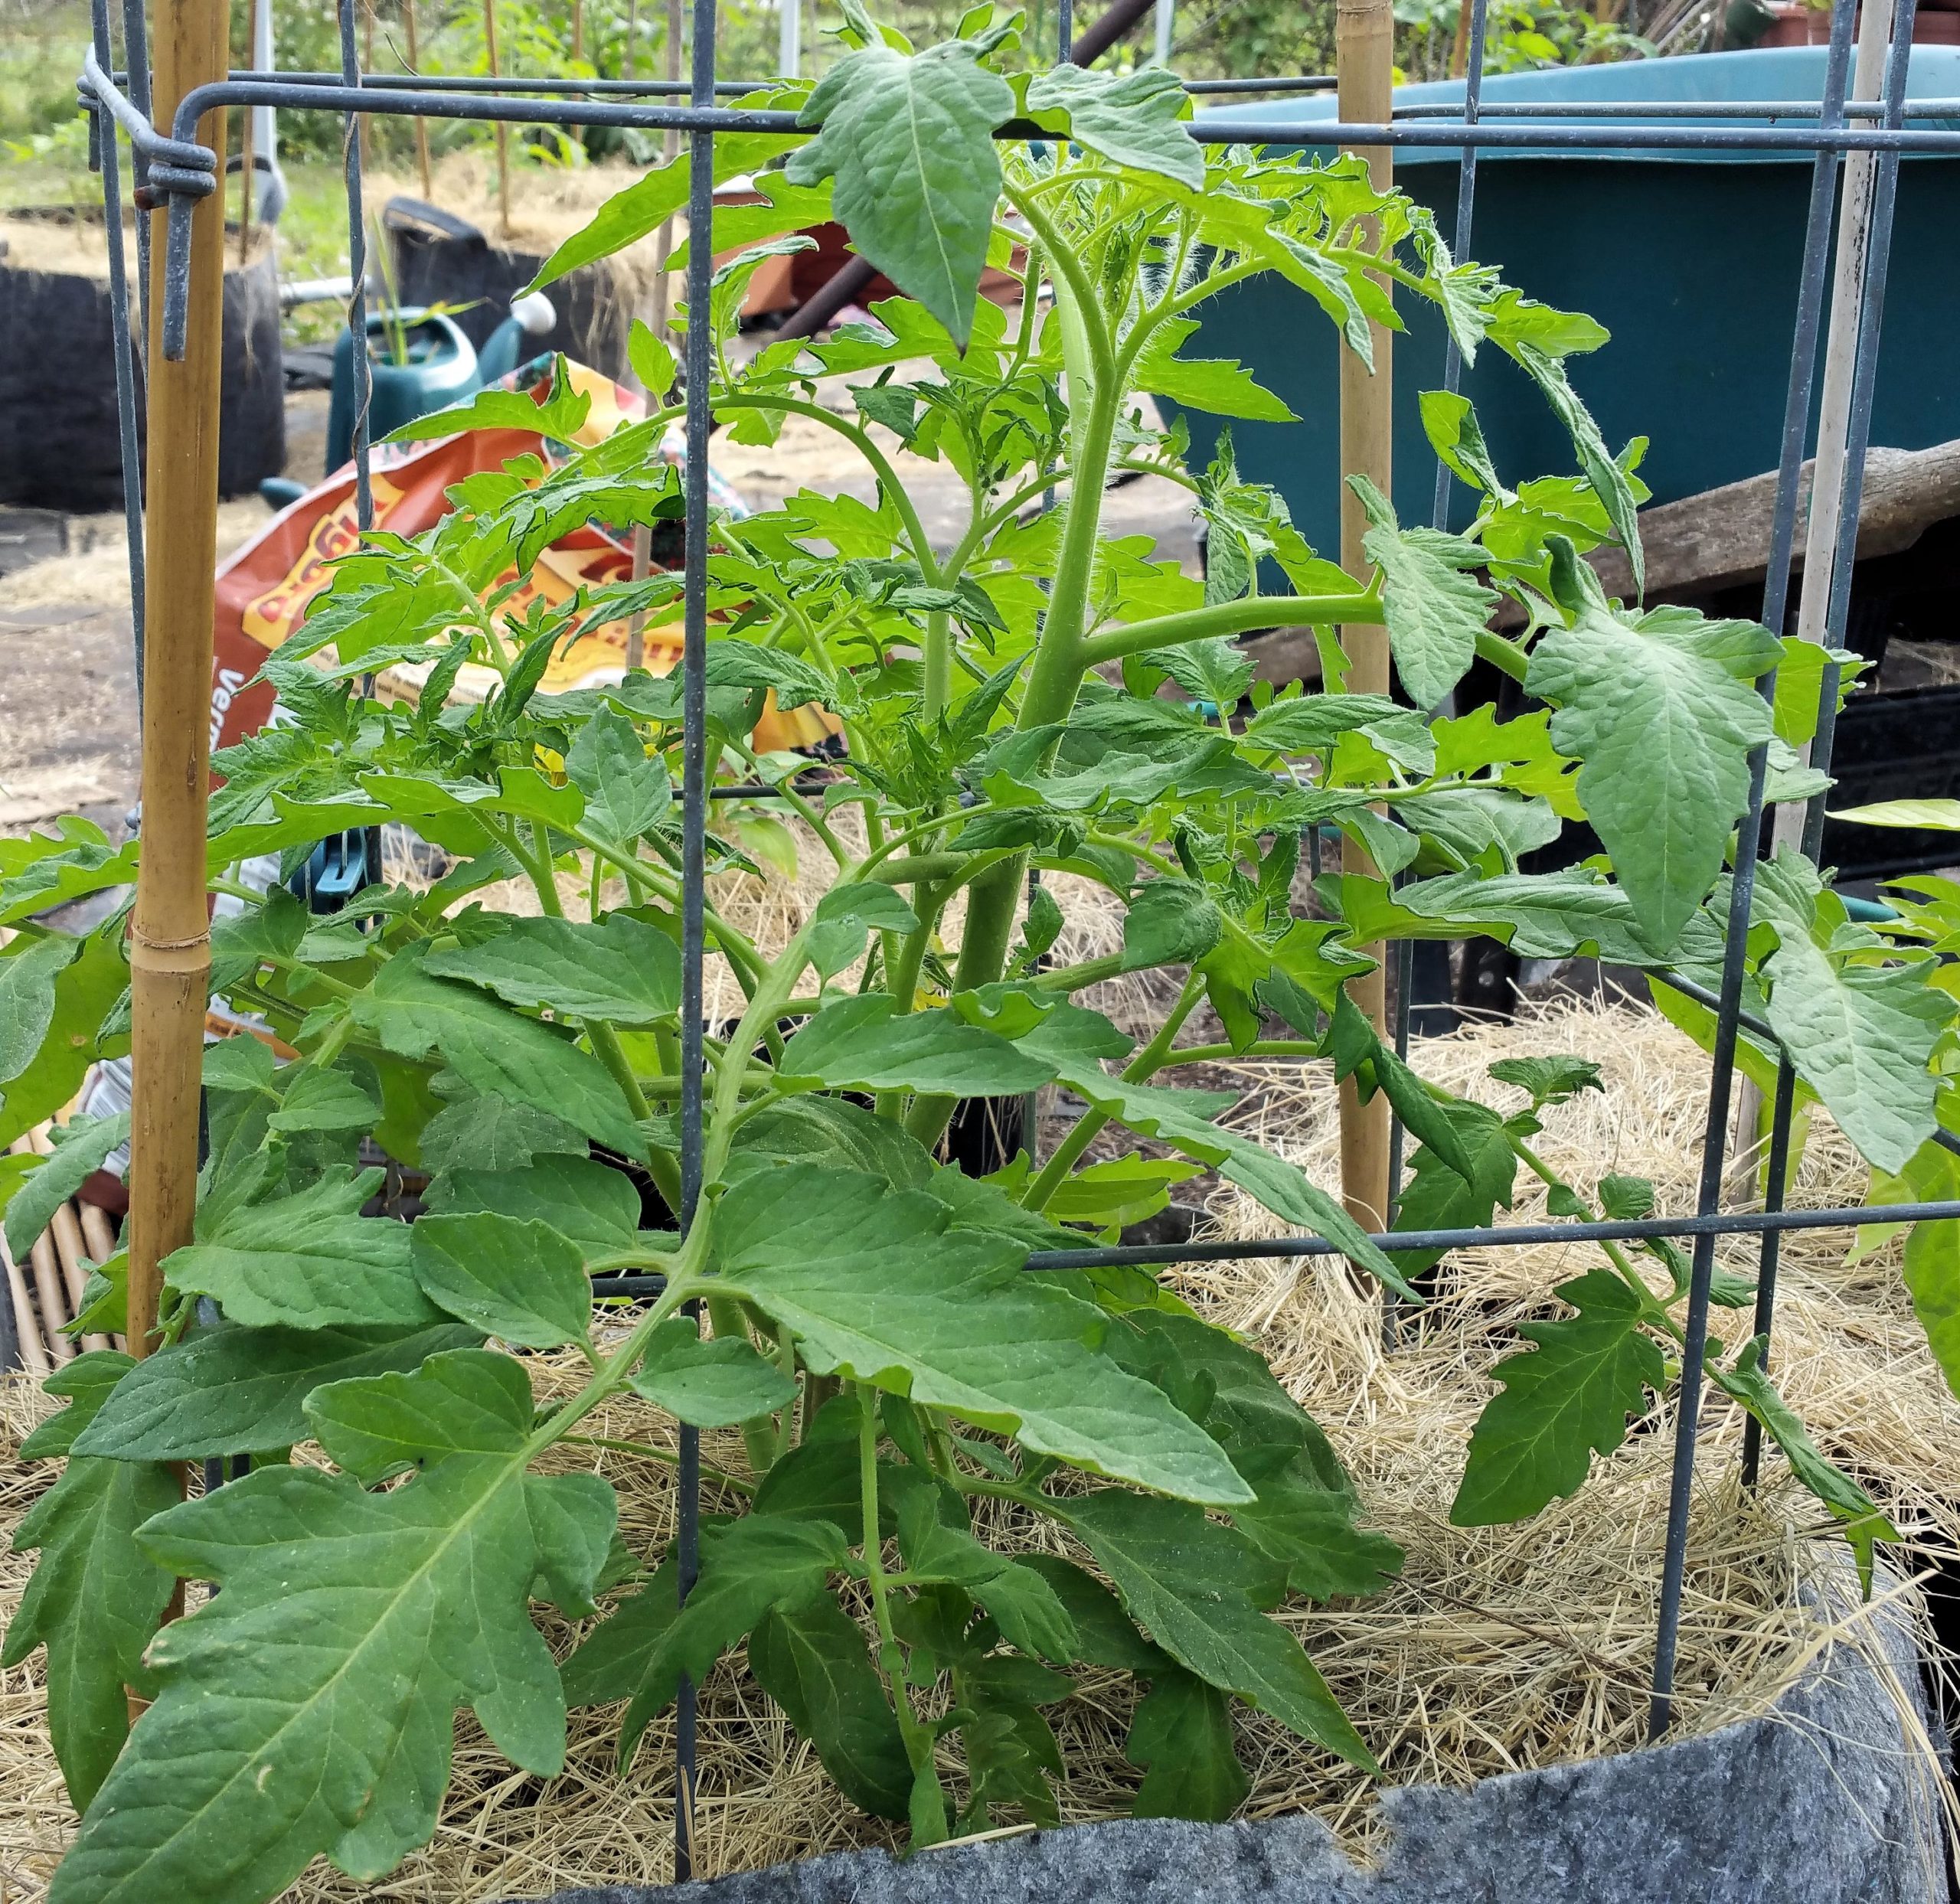
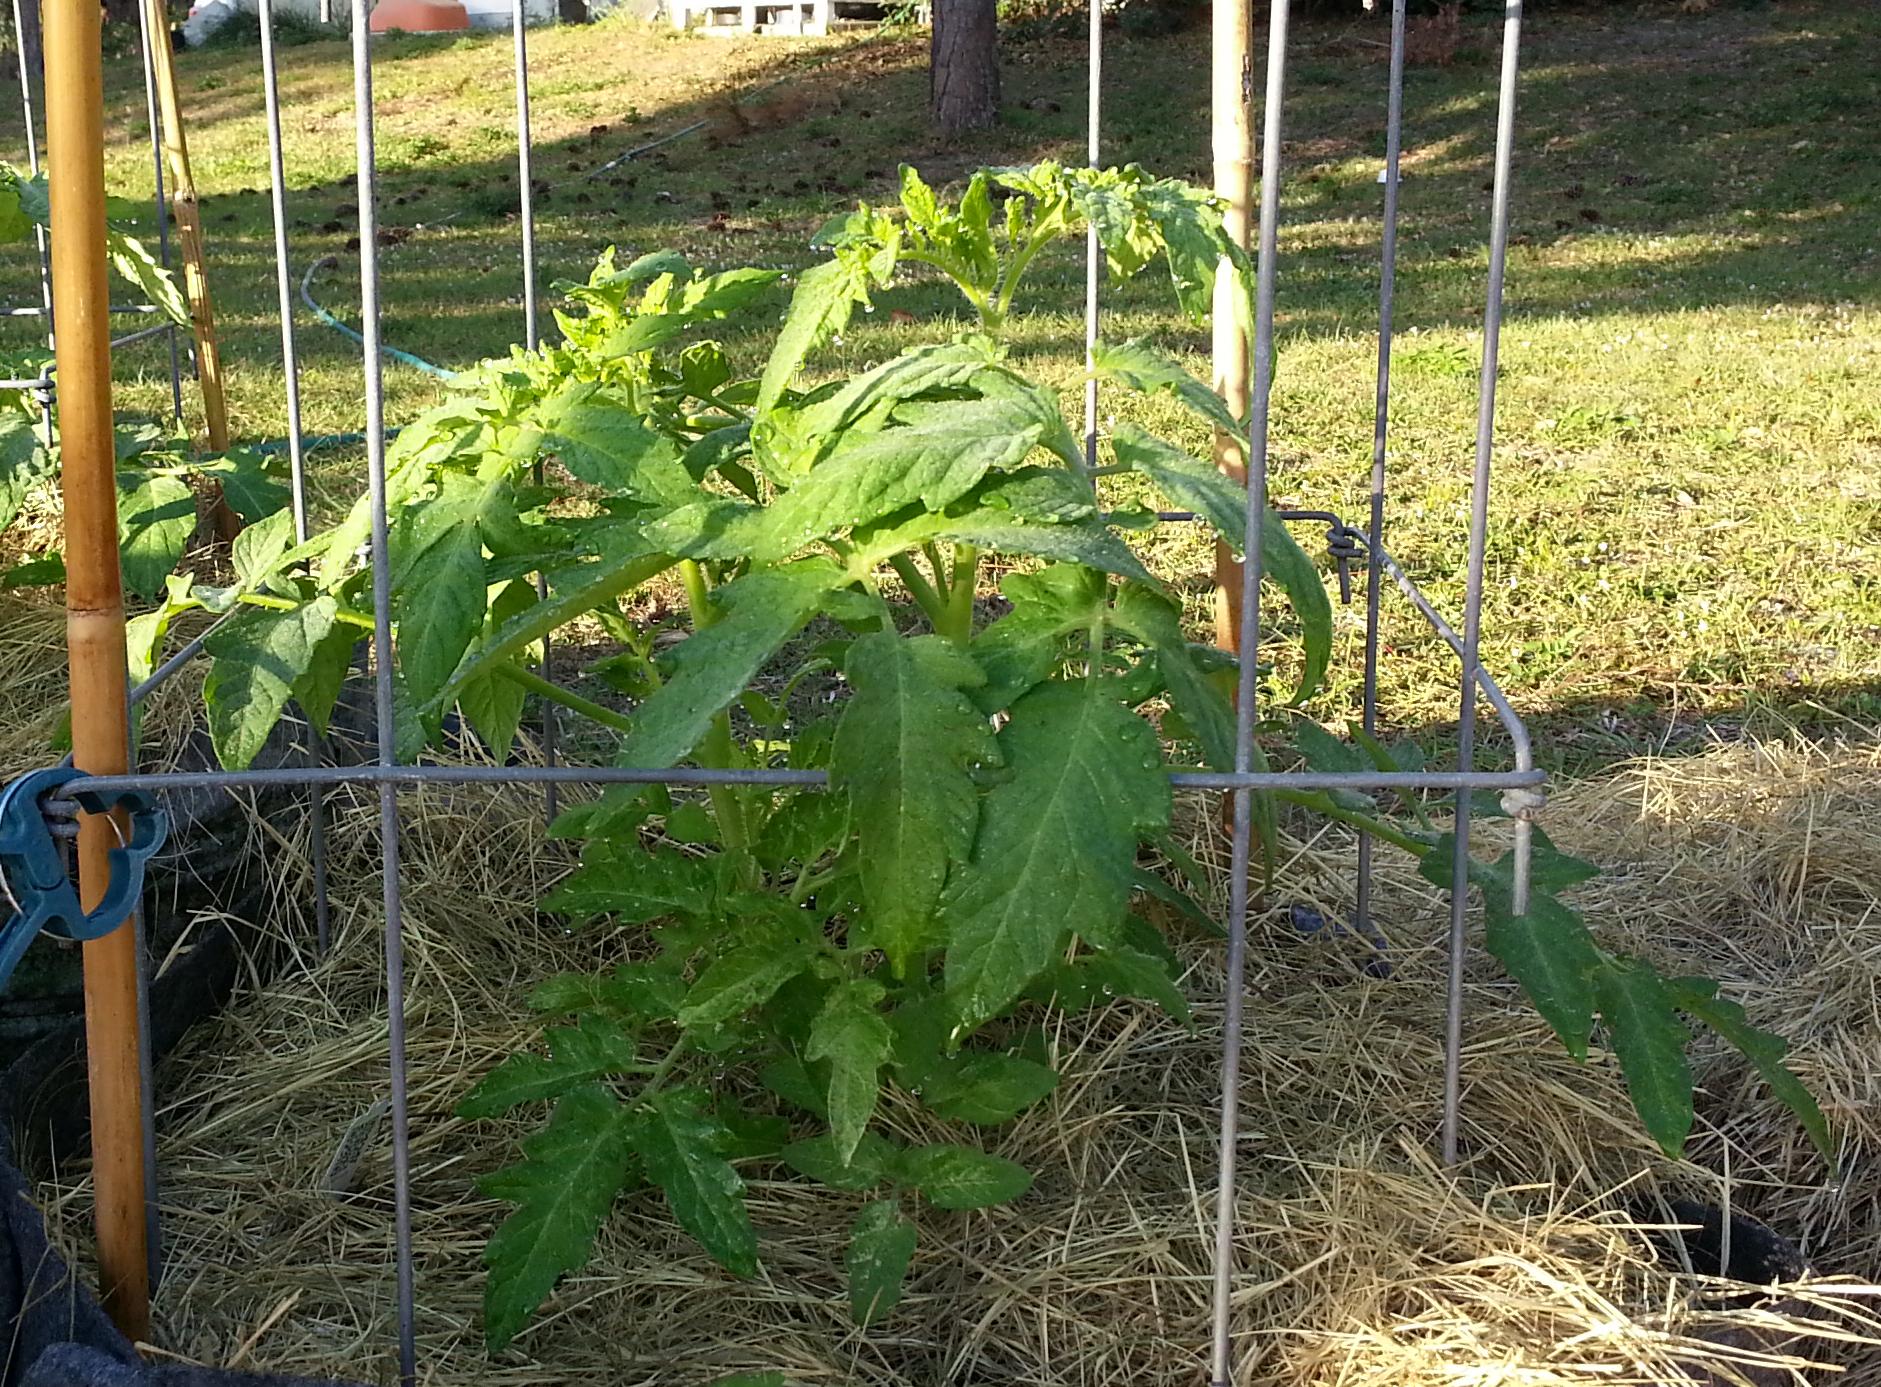
Red Beefsteak Tomato Plant, Before First Compost Tea
(By the way, it’s not only just for tomatoes — all plants can benefit.)
Does it Work?
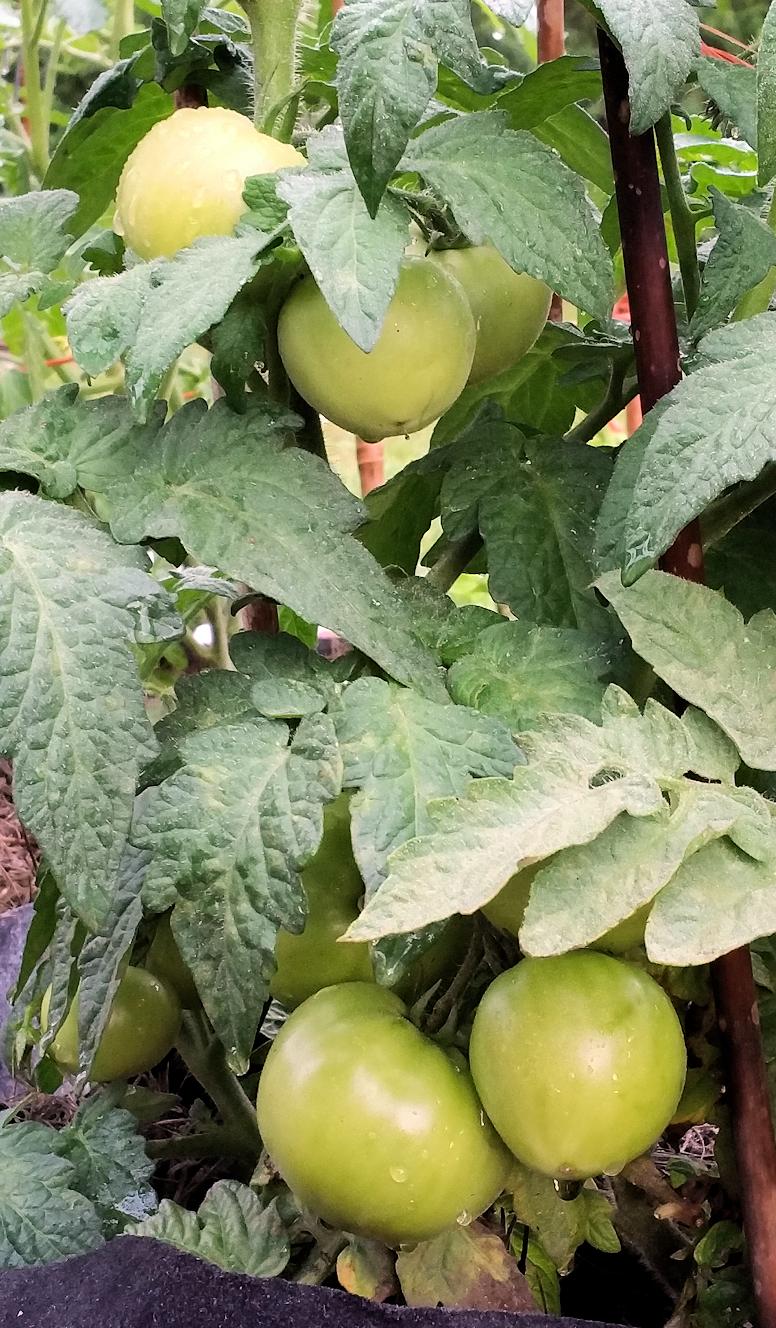
The first thing you might want to know is — does it really work? From using it myself, I can whole-heartedly agree that it does work. I put off using tea for quite a few years, because I thought it was too much of a pain to make. Turns out it can be very, very simple (or as complex as you want).
Personally, I use the simple method – at least for now. And I have to say that within literally 2 days, I saw a significant change, for the better, in the majority of my plants. Within 4 days, all the plants had responded favorably. In a previous post, I mentioned that one of my tomato plants had doubled in size within a week!
And it’s all organic!
The Steeped Method of Compost Tea
This is super-easy. I make it in 5-gallon buckets, but you can scale it down or up as needed. Here’s how to make it:
- Take a 5-gallon bucket, and into it put one heaping trowel (a small hand shovel) of fresh compost or two heaping trowels of bagged compost.
- Fill the bucket to the top with water.
- Let it sit at least overnight, and even better is 24 hours.
- Use it while watering your plants. First water normally, then add a cup or two of the tea to the base of each plant, depending on the size of the plant.
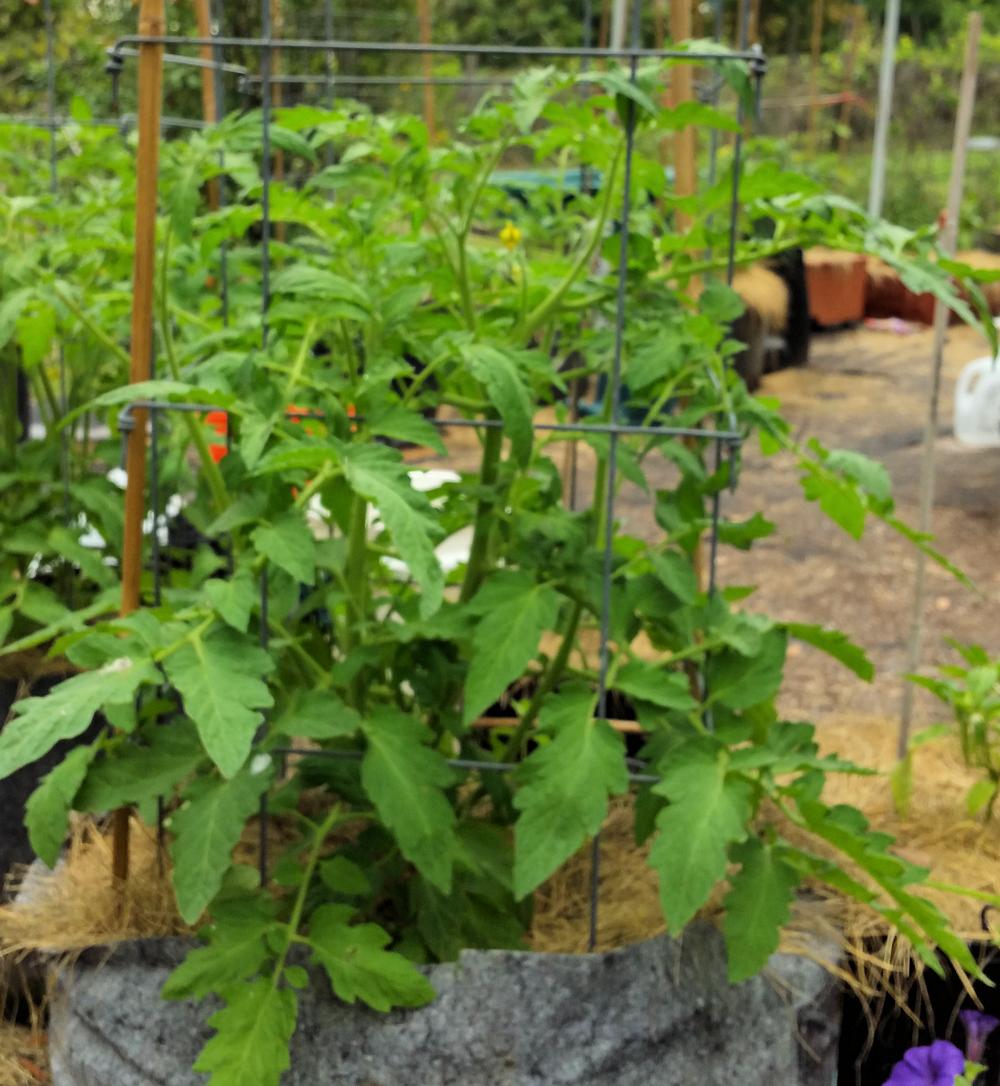
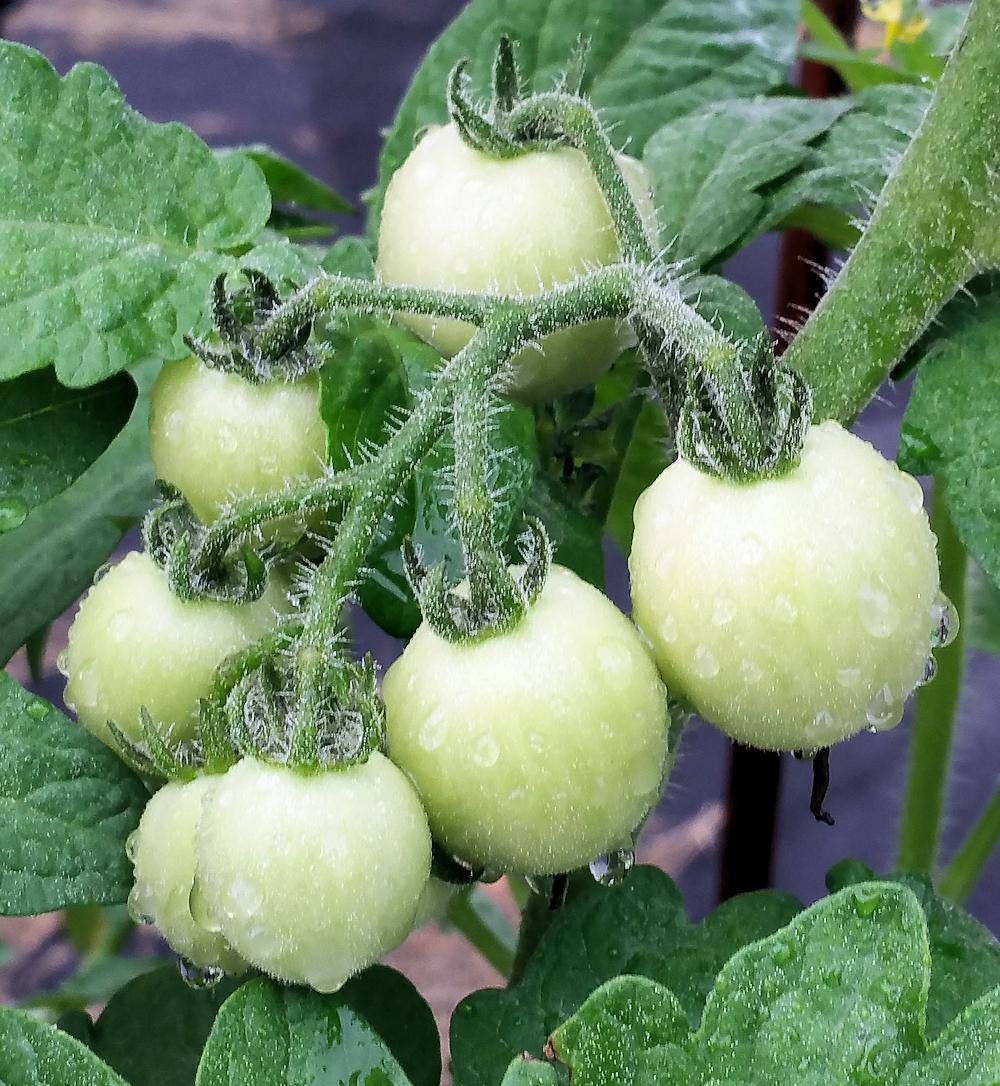
Same Plant, 10 Days After, With 2 Doses of Compost Tea
You can use it immediately, or within a week of making it. Either way, give it a quick stir before you use it. Note: It should look really dark, like coffee or a really strong tea. If yours is more like weak coffee or tea in color, just add some more compost next time.
You can also use worm castings in place of some or all of the compost, or in addition to the compost. And if you like, add in some liquid kelp — maybe a tablespoon or two.
You can use this for foliar if you like, but I think just watering it in works just as well. I used just worm castings for my first two batches, but my next batch will be a half bagged compost and half worm castings (1 trowel bagged compost + 1 trowel worm castings)
The Brewed Method of Tea
It’s a little different, and takes a little more effort. This kind of tea basically encourages good bacteria and fungi by feeding them, and then it is sprayed onto the plants as a foliar or using it as a supplement to watering. There are lots of companies that sell a brew mix that is ready to use, or you can make your own. Either way, the process is pretty much the same.
Use de-chlorinated water. If you have chlorine in your water, either use a chlorine filter or just put water in a bucket and let it sit overnight (or better, 24 hours) to let the chlorine dissipate.
Put together the following in a 5-gallon bucket along with your water:
- 1 trowel of compost (or, worm castings)
- 1 tablespoon of molasses (blackstrap, if you can find it — otherwise regular)
- 1/4 teaspoon humic acid
- 2 tablespoons of liquid kelp
Stir together to mix thoroughly. Then you will need an oxygen source, like an aquarium pump with tubing and an air stone.
With the aquarium pump outside the bucket and the air stone in the bucket (connected to the pump via tubing), run the pump and let the tea brew for at least 4 hours — 8 hours is better.
Use immediately as either a foliar feeding or a cupful after you water your plants. You’ll need to use it quickly, as this doesn’t keep well. If you can’t use it all in one day, you will need to keep the air stone in. to continue the oxygen.
Variations
If the above brewed recipe isn’t quite to your liking, there are quite a few companies that sell a product that is ready to brew. All you need to do is add the de-chlorinated water and air stone, and then brew the length of time recommended in the instructions you receive with the product.
Note: Also follow the directions for how to use the finished tea — some products require you to dilute it further before using it on the plants.
Using Compost Tea
This post is already pretty long, so I’ll do a separate post for how to use compost tea. As soon as I have the post written I will link to it.
My First Big Tomato of Spring (And Updates)
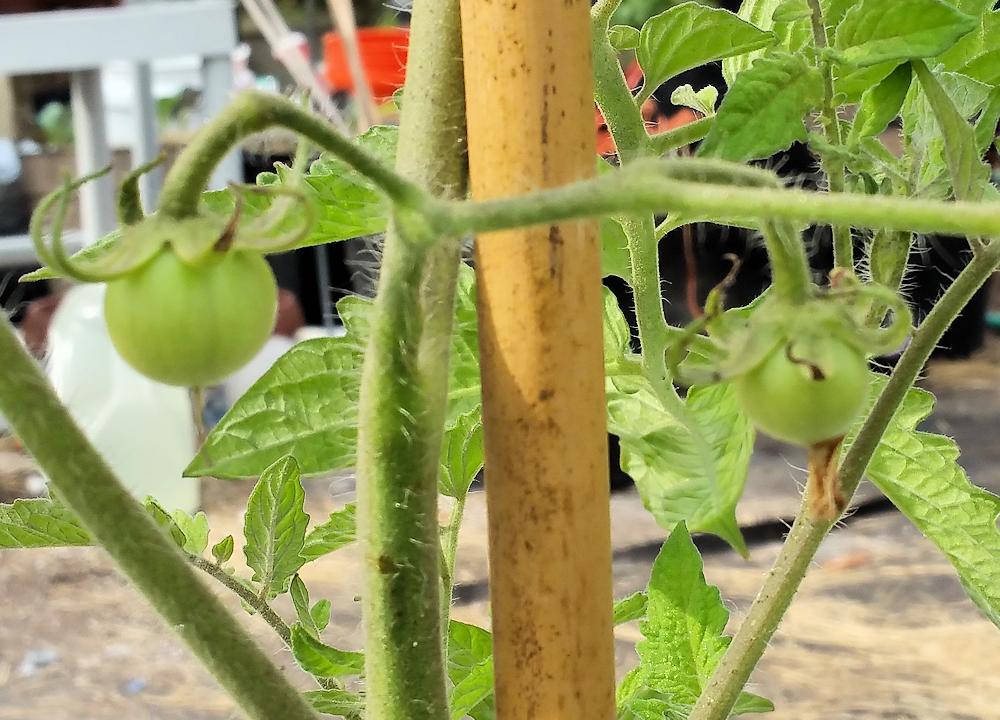
Early Girl Tomato
I already had some small-sized tomatoes in my Winter/Spring garden and I mused on which of the larger tomato variety would set fruit first. I speculated it would be between Big Boy and Early Girl.
Big Boy had blossoms open first — but Early Girl managed to set the first fruit! (She just kinda snuck right in there.)
I have some surprising (to me) updates. And yes, I do plan to have a video walk-through, but I thought I’d wait until I actually had a little more going on — it’s always nice to be able to show larger tomatoes, rather than have to get super-close for the itty-bitty ones.
Update
My first update is that I have my Isis Candy cherry tomatoes in the garden — I finally got around to taking them off my windowsill and into larger (temporary) pots in the garden. I actually ended up with four plants, instead of the three I mentioned before. But — I still do plan on an experiment when they get into their final homes.
The experiment involves two new humic acid products — TeraVite and Extreme Blend. I keep hearing that humic acid will help your plants (of all kinds) grow bigger, stronger, etc. So — may as well put them to the test! I was only expecting three I. Candy plants to grow large enough, soon enough. But…with four plants, I may throw in another test — one plant may get Miracle-Gro (I have a ton of it leftover, so may as well use it up) and the final plant will be the control.
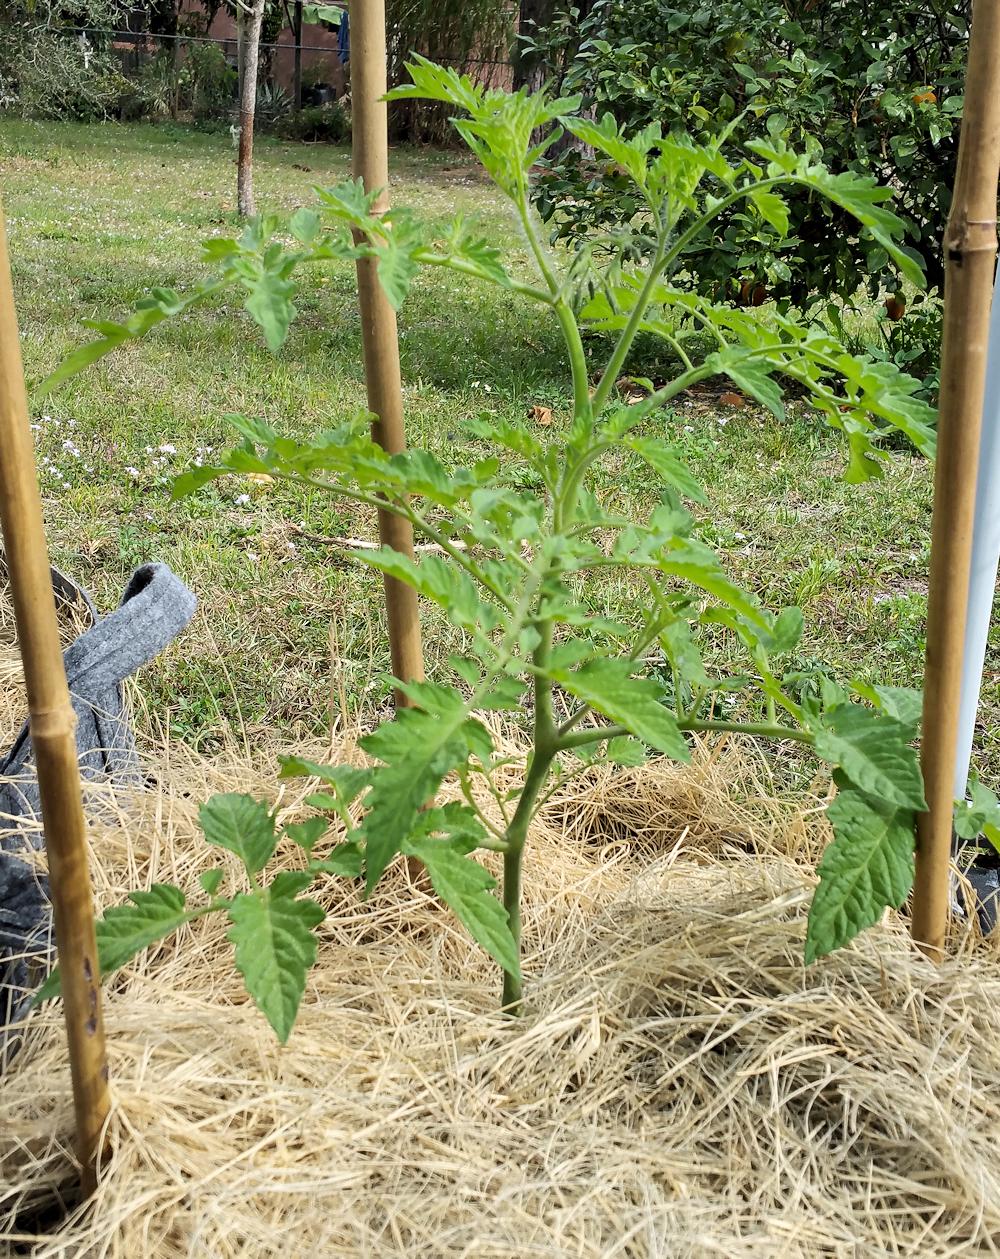
Black Cherry Tomato Plant
Should be interesting!
Surprises
I mentioned previously that my Black Cherry tomato plant was just languishing — wasn’t dying, wasn’t growing — just looking like it did when I planted it. Of course, a couple days after I said that, what do I see? The plant has taken off! It was so sudden that I wondered if someone had come in the middle of the night and put a new plant in its place.
(The “secret sauce” is worm compost tea, which I’ll talk about in another post.)
Another surprise was Big Beef. It had been going gangbusters, until I had to transplant it to another pot (which had been invaded by fire ants). It seemed to be OK at first, then just stopped in its tracks.
Big Beef Tomato
I guess the worm compost tea did some magic on it as well, as I see a small ‘mater on it — woo hoo!
I am very much looking forward to having some homegrown tomatoes. I have some lettuce growing (which has been delicious), but I need some delicious tomatoes, too! It’s hard to wait, but with any luck, the first of the cherry tomatoes will start ripening within about 10 days.
Growing Tomatoes in South Florida
Growing tomatoes in South Florida seems like it would be easy, right? Lots of sunshine, plenty of rain. That’s good, but what isn’t is the evil twins of high heat and high humidity. In the summer, anyway. Let’s talk about growing tomatoes in South Florida.
Seasons in the Sun
Better Bush Tomatoes
For the most part, we don’t have much in the way of freezing weather here in South Florida. Sure, we do get cold snaps in the winter, and we do see the occasional frosts and freezes, but for the most part, winter is mild for the plants. If you’re able to cover your tomato plants when a frost hits, there’s a good chance it will survive.
From about late January through the end of April is our prime growing season, give or take a week or two in either direction. It’s basically mimicking what happens in the more northerly parts of the county – just several months earlier.
Our secondary growing season is from about the middle of August through to about Thanksgiving. We start out really hot, and it doesn’t start cooling down until around late September. However, by then the tomato plants are in flower and have less of an issue with setting fruit.
So….what about Summer?
Summer and the Evil Twins
It’s hot here. It’s humid. There are tons of insects. What’s not to like? 😉
Seriously, while tomato plants like the heat, they don’t like humidity — at least, not for months at a time. Our nighttime lows are the summertime highs in other parts of the country. And that is the big problem.
Tomatoes – most varieties that is – don’t set fruit well in high sustained heat, especially when they don’t get a chance to cool off at night. The large-fruited varieties are especially prone to either dropping their flowers, or not flowering at all when it gets really hot.
The humidity takes a toll as well. Various kinds of tomato blights thrive in humid weather; the bacteria and fungus move in and the leaves start turning yellow and brown or black spots – yuck!
Now, this isn’t to say that you can’t grow tomatoes in South Florida in the summer — just that it is way more challenging.
Tomato Varieties for South Florida
In the late winter through mid-spring growing season, you can grow just about any variety. Peruse the catalogs and online stores for intriguing tomatoes. Just remember that if you plan to grow your plants from seeds, you need to plant those seeds (indoors) around the beginning of December. (I have a video that I’m finishing up that talks about planting seeds; I’ll post that here when I have it ready.)
Alternately, if you’re like me in some years, you can purchase your starts from a nursery or big box store and transplant them into the garden. I tend to do a little of each, LOL.
Either way, your best bet is to get them into your garden by the middle to end of February.
Some larger-fruited varieties I have grown successfully include Kellog’s Breakfast, Cherokee Purple, Black Krim, Pineapple and Red Beefsteak. Other varieties I like are Better Bush, Eva Purple Ball, Loxahatchee, Black Prince and Druzba.
I’ve also grown Pink Brandywine — the only issue I have with it is a low production; I don’t get all that many tomatoes (although the ones I do get can be huge).
Of course I’ve grown far more than just the ones I’ve listed — these are just the ones that stand out in my memory. Wait — what about cherry tomatoes?
Cherry Tomatoes
Husky Cherry Red
These are the saving grace for those of us who are homegrown-tomato-starved during the summer (and all year around, actually). Cherry tomatoes tend to still produce during the high heat and humidity. Maybe not as much as during the cooler parts of the year, but you can still grow them.
I’ve grown all sorts of cherry tomatoes, including Black Cherry, Husky Cherry Red, Isis Candy, SuperSweet 100, and Juliet to name a few. It’s getting to be late March, and I am still planting cherry tomato seeds for summertime snacking and salads. This summer I am going to try Indigo Cherry Drops and Rapunzel. I’m also going to try to keep my existing varieties (Isis Candy, Black Cherry, Juliet and Husky Cherry Red) growing.
Native Soil in South Florida
Can you say “terrible” (except for the area around Lake Okeechobee)? It’s sandy before you hit a hardpan of clay, and devoid of nutrients. The only way you can deal with it is to incorporate a lot of compost. And I do mean a lot — when I was doing in-ground gardening, I easily used 80 bags of compost when I got started. Fortunately, every year your soil will get better and better with the compost, and you will only need to add smaller amounts.
Your other options are raised beds or container gardening.
Insects
One last word is about insects. Tomato hornworms can decimate a good-sized plant overnight, and we get plenty here. Aphids can also be a problem. Fire ants are also issues (oh how I hate them!).
Nematodes can be a problem. Marigolds planted among your tomatoes will help with that. Or, do as I did — I moved everything to containers.
In the warmer, wetter parts of the year, you’ll also need to allow for mosquitoes. The tomatoes won’t suffer from them, but you will! You can’t get rid of them, but you can try to keep your garden dry (no standing water) as well as strategically place some plants that mosquitoes tend to not like around your garden. This year, I got some lemongrass cuttings and put them in 3 gallon pots. When they root and start growing well, I will transplant them to 5 or 7 gallon containers and move them around in the garden. We’ll see if it works!
Gardening Must Have – Mulch
Tomatoes like well-drained soil, and they generally like it to be moist, but not wet. However, they also need to keep their leaves dry, so as to keep soil-borne bacteria off them. Tomatoes also don’t like to keep bouncing back and forth between dry and wet – especially when they are fruiting.
Red Beefsteak Mulched With Hay
Growing tomatoes in containers make all the above a little more difficult, especially in the summer when it’s hot. But there is a way to help keep the soil more evenly moist, not to mention help to keep the leaves dry.
Mulch is a Gardening Must-Have
Mulch is an excellent idea for all kinds of gardening, both traditional in-ground as well as raised beds and containers. It serves to cut down on weeds, keep the roots cool in the summer and also helps to keep the soil more evenly moist. And of course, it keeps soil off the leaves of the plants, which helps to keep them healthier.
Kinds of Mulch
There are all kinds of mulching material. Some of the most popular are:
- Hay or Straw
- Landscape Cloth
- Wood Chips
- Newspaper or Cardboard
Each has pros and cons, and it all depends on your needs and your wallet as to which is best for your garden. Let’s take a look at them.
Hay and/or Straw: This is a relatively inexpensive option; where I live, a bale of decent hay is about $9, and that covers all my containers with a thick layer of mulch. It’s also a great filler for my large 20 and 25 gallon containers — they use a lot of potting mix, and by putting a layer three or four inches thick at the bottom allows for additional drainage and less potting mix. Not to mention it eventually composts down itself. The biggest con is that if you have a small container garden, a bale of hay will be way too much for you to use up.
Landscape Cloth: This is a nice option if you like a clean look to your garden. It comes in rolls that are 3 or 4 feet wide, and anywhere from 50 to 300 feet long. Look for landscape cloth that is permeable — it lets water through — and check to see if it’s at least a “15 year” ground cloth. Not that it will actually last 15 years, but you should be able to get several years from it — I have some that is 4 years old and still going strong. The biggest con is that you also need to weight down the cloth somehow. The best way is to use earth staples — U-shaped thick metal wire usually about 6 inches long. You’ll need to “staple” the cloth into the ground every 6 to 12 inches. Kind of a pain, but once you have it in, it’s pretty maintenance-free. I use it mainly for weed suppression around the garden, but you can cut an X in the cloth, peel back the edges and plant your tomatoes in the soil. Just don’t put earth staples near the roots!
Wood Chips: This is the mulch you see at the big box stores, in the large bags. Inexpensive, so if you have a large area to cover, it can be fairly economical. Just be careful you don’t get the really big chips, as they are better for things like trees — and they also tend to attract bugs. The smaller chips or shredded ones are better for the veggies, and there is less of a bug issue. Don’t choose the ones that are colored — yes, the colored chips are pretty but the fewer extra chemicals in the garden, the better. And of course, wood chips eventually do compost down after a few years. I used wood chips way back in the beginning of my gardening, but I like to go barefoot, and wood chips were uncomfortable to walk on (since I also used them for weed suppression in addition for mulching the ‘maters).
Newspaper or Cardboard: If you have a small container garden, this may be your least expensive option. For a container garden, I would suggest you shred your newspaper (all but the shiny insert pages) and use it that way. For a traditional garden, you can lay out sheets — I suggest at least three sheets thick. You can also use cardboard, but it’s better for weed suppression (unless you have some thin cardboard — then use it like newspaper). Very inexpensive. The only issue is that if you use sheets, you will need to weight them down, at least until they start integrating (i.e. discomposing) with the soil. No newspaper? Yep, use regular printer paper, or even your shredded bills — put ’em to use!
Whatever Mulch You Choose…
…use it! Here’s the way I use it, to help keep the soil moist. Water the plants about half as much as usual, then add the mulch. Finish by watering in some more, wetting the mulch thoroughly. I water the plants less often, but when I do, I water them deeply. My goal is to have my plants get a nice deep root system, so that they are less susceptible to drying out. And the bonus is that I don’t have to water every day, unless it’s extremely hot and there hasn’t been any rain.
A week or so after the initial mulching, I like to add a little more, and again, water it in. I also trim back the bottom leaves, so that none are resting directly on the mulch.
Choose the mulch best for you!