Growing Tomatoes
Big Beef is Ready!
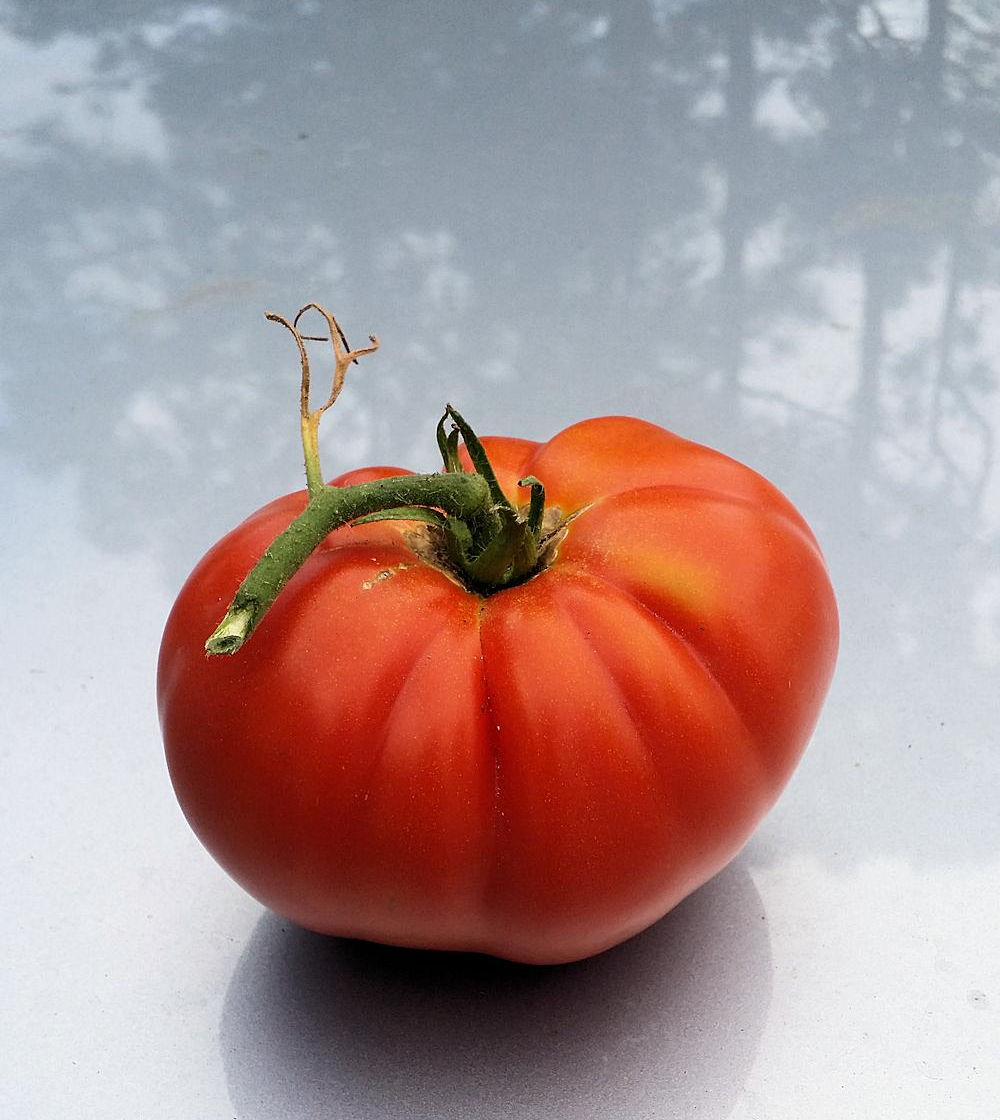
Big Beef Tomato
I just had to share this photo. I finally was able to pick my first beefsteak tomato of the season (Big Beef) and it’s gorgeous! The photo doesn’t give you an indication of size, but it’s a double-handful. My guess as to weight is just about 1 lb. You can click the photo for a bigger photo.
Picked This Week
I was able to pick quite a bit this week. Husky Cherry Red produced quite a few very sweet cherry tomatoes. I’m afraid they never make it to the house, as I tend to snack on them in the garden!
Juliet also had two ripe grape-shaped tomatoes. I haven’t tried them as yet, but I am hoping they are more flavorful this year.
Better Bush had several ripe tomatoes this week, and I see more that are ripening. The plant does look rather sad, but I am waiting until I have all the tomatoes harvested before removing it. It’s a determinate anyway, so it’s really given me most of this year’s harvest.
The one that I am most excited about – aside from my lovely Big Beef – are my Black Cherry tomatoes. I picked three of them today and they very much live up to their reputation. They are very sweet — almost like eating a piece of fruit. Which is of course appropriate, since technically tomatoes are fruits (berries, actually)
A Funeral This Week, Too
I pulled out one of my Isis Candy Cherry tomato plants — one of the big bushes. All the sudden it started looking…weird. It wasn’t the water problem, but I really didn’t like the looks of things. And since I have several more of the variety planted, I can afford to lose one.
And Coming Up
I have my seedlings for Rapunzel and Indigo Cherry Drops getting ready to go out to my new shade house. Loxahatchee (which I planted much later) still needs to spend some time under the grow light before I put it out in the shade house (i.e., my former greenhouse).
The shade house is where I will put some of my tomatoes, peppers and orchids. Part of my problem in my summer garden is that the sun is just way too strong — the plants don’t stand a chance come midday. The heat is also a problem. Well, the shade house will help with those problems immensely.
I’ll do some separate posts regarding the shade house and the grow light that I’ve been trying out. The grow light is rather exciting, because 1) I have never had such beautiful seedlings when growing on a windowsill (even a south-facing one). And 2) the grow light was really inexpensive, and I didn’t need any special setup.
So, that’s it for now — catch you later with more updates!
Tomato Garden Update – April 2016
It’s just past the middle of April, and so it’s time for garden updates — and this time, I have a video showing the plants and the tomatoes! So it’s not just photos, but lights! camera! action! 😉
Better Bush Tomatoes
But first, I said I’d talk about Juliet, Cherokee Purple and Husky Cherry Red (since I didn’t cover them in my last update).
The Good and the Bad
Let’s start off with the bad and work on up to the good. Cherokee Purple…may you rest in peace! I’m afraid the salt damage that most of the other plants kind of shrugged off was Cherokee Purple’s death warrant. Alas, it’s not a variety that can handle excessive sodium well. I had to just pull it out, and put it out of its misery.
Juliet is next on the list; the plant is not doing great (as you will see in the video), but it’s certainly not at death’s door. And unfortunately (kind of), it’s still setting tomatoes. You’ll hear why I say that in the video.
Husky Cherry Red is doing fine, aside from being targeted by birds! Apparently they love the sweet cherry tomatoes that the plant produces, so I had to wrap the plant up in insect netting. But at least now I get to eat the tomatoes instead of the birds beating me to them!
As for all the other plants — I’ve had ripe tomatoes to eat this past week — yum! Not all the plants have had fruits ripen as yet, but it’s mostly the big beefsteak tomatoes that are hold-outs. Then again, they are growing some really good sized fruit, so they can be somewhat excused. 😉
Video Walk-Through
So, here’s a video walk-through of the tomatoes. Keep in mind some of the salt damage that I have had. We’ve also had some days over 90 degrees Fahrenheit already, and then weather that is somewhat cooler than normal. I don’t think the tomato plants quite know what to do!
Anyway, hope you enjoy the walk-through. Meanwhile, my second wave of seedlings (Rapunzel, Indigo Cherry Drops and Loxahatchee) is almost ready to get potted up for the last time before heading out to the garden for their final planting. More on them later!
Garden Update – Tomato Explosion!
It’s the end of March, and the tomato plants are growing and blossoming and producing LOTS of tomatoes! But along with my successes, I’ve had a failure as well. Come on and let’s take the tour!

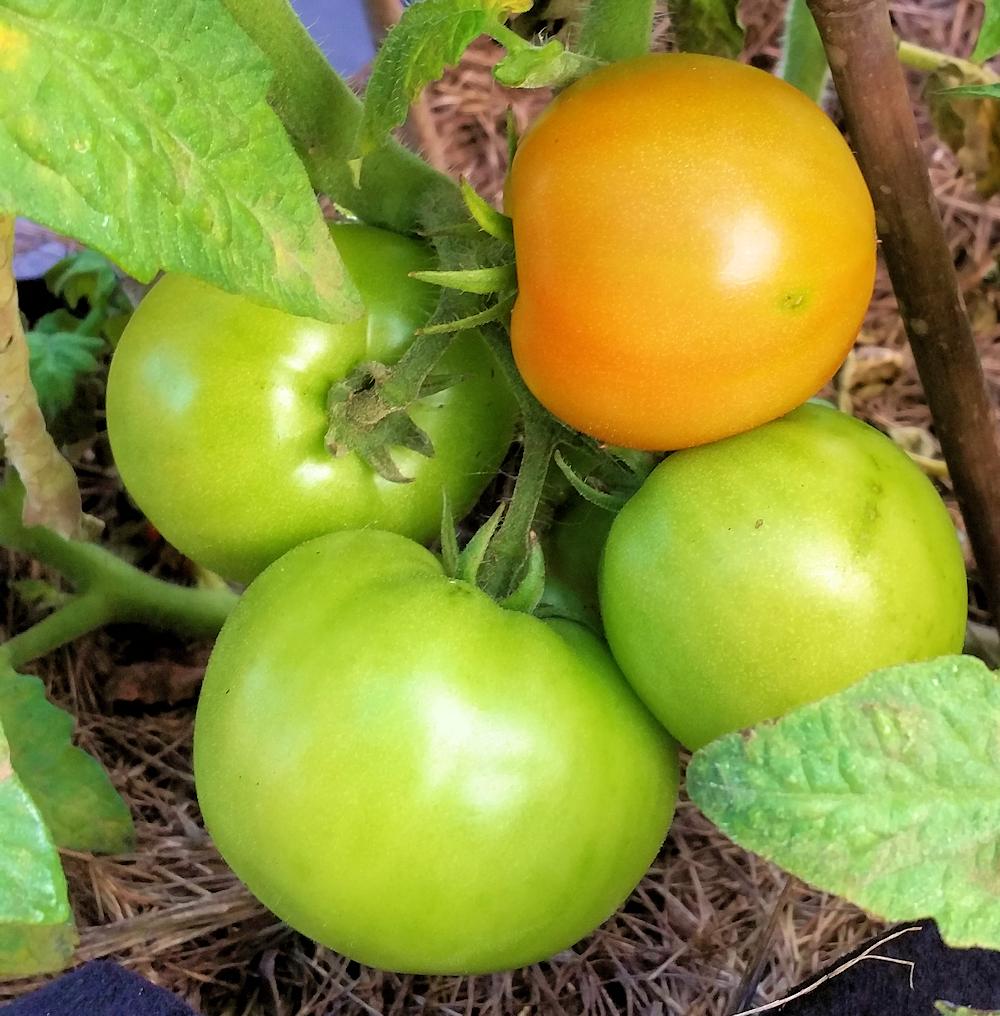
Big Beef Tomato
Big Beef – Wow!
My Big Beef tomato plant has gone through some tough times, what with multiple multiple transplantings, an ant invasion and losing some foliage. It did set a tomato shortly after Big Boy and Early Girl, and it has far outstripped those plants! It’s got the biggest tomato in the garden, and it is getting bigger every day.
Big Beef is a hybrid tomato, and produces red beefsteak-type fruits. I can’t wait to taste it when it ripens!
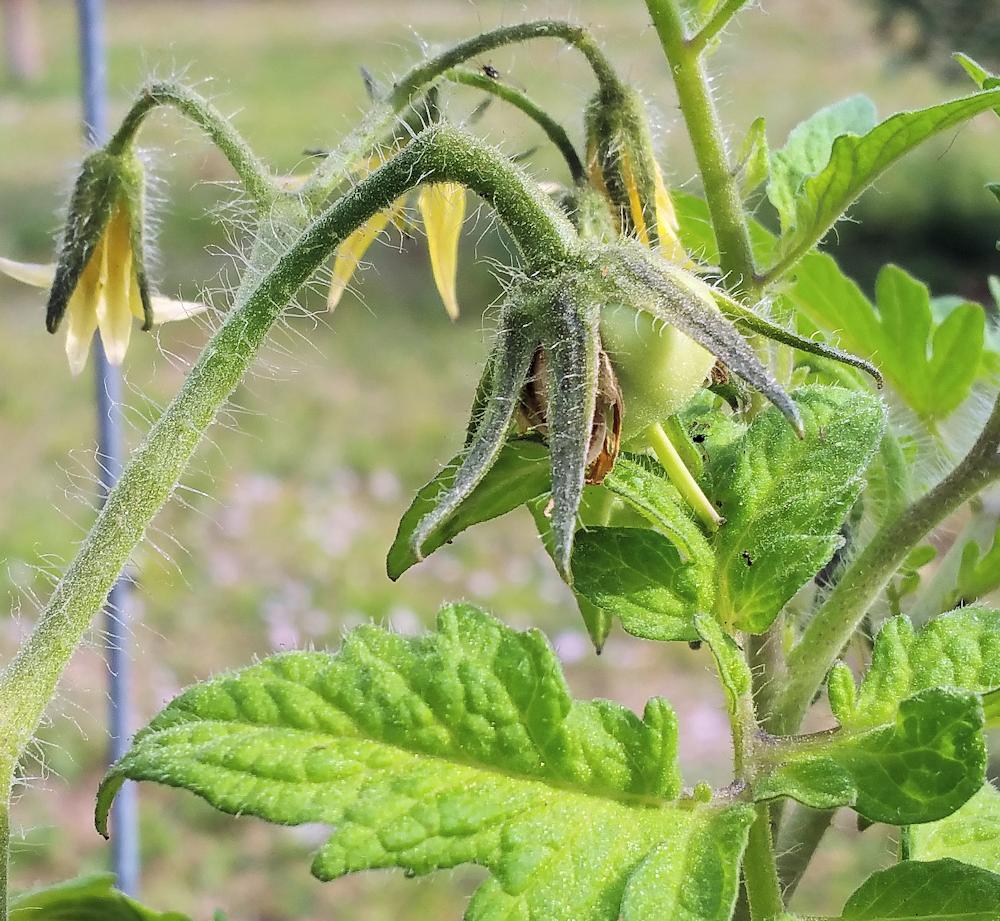
Black Cherry – Finally Hit Its Stride
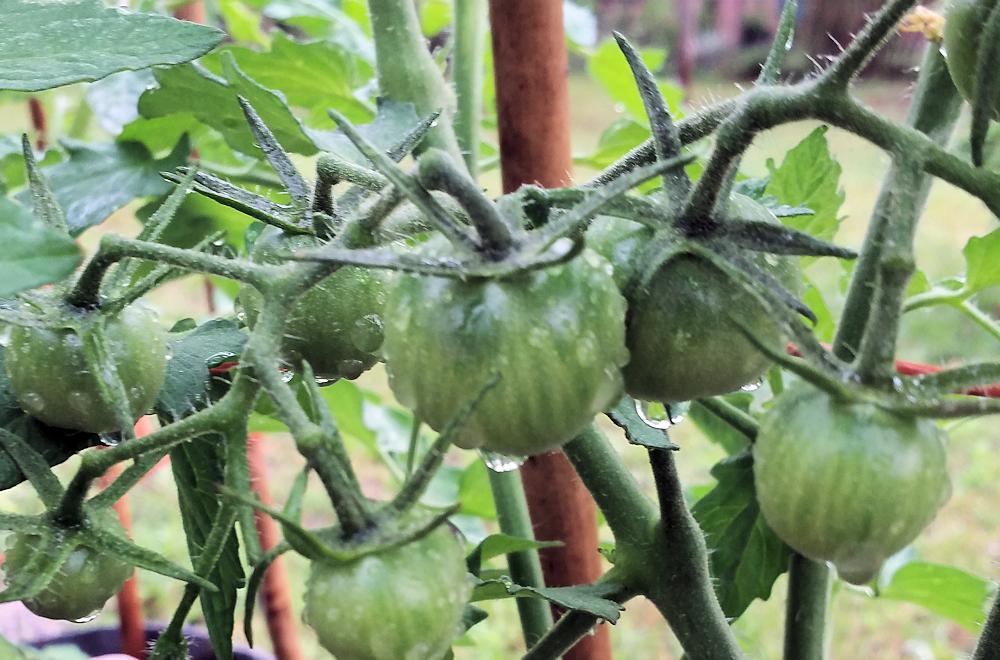
Black Cherry Tomatoes
My Black Cherry tomato plant took quite awhile to do anything. For several weeks it just sat in its pot and didn’t grow – not until I gave it a drink of worm compost tea. That perked it up, and now it’s flowering and producing cherry tomatoes with abandon. Black Cherry is an open-pollinated tomato plant (although sometimes it’s classed as an heirloom).
I’ve tried growing Black Cherry in the past, but one year almost my whole garden was decimated by hornworms – including Black Cherry. Another year I got rained out before I really got the plants started — that was my fault for starting so late. I am very much looking forward to the cherry tomatoes, as they are supposed to taste heavenly!
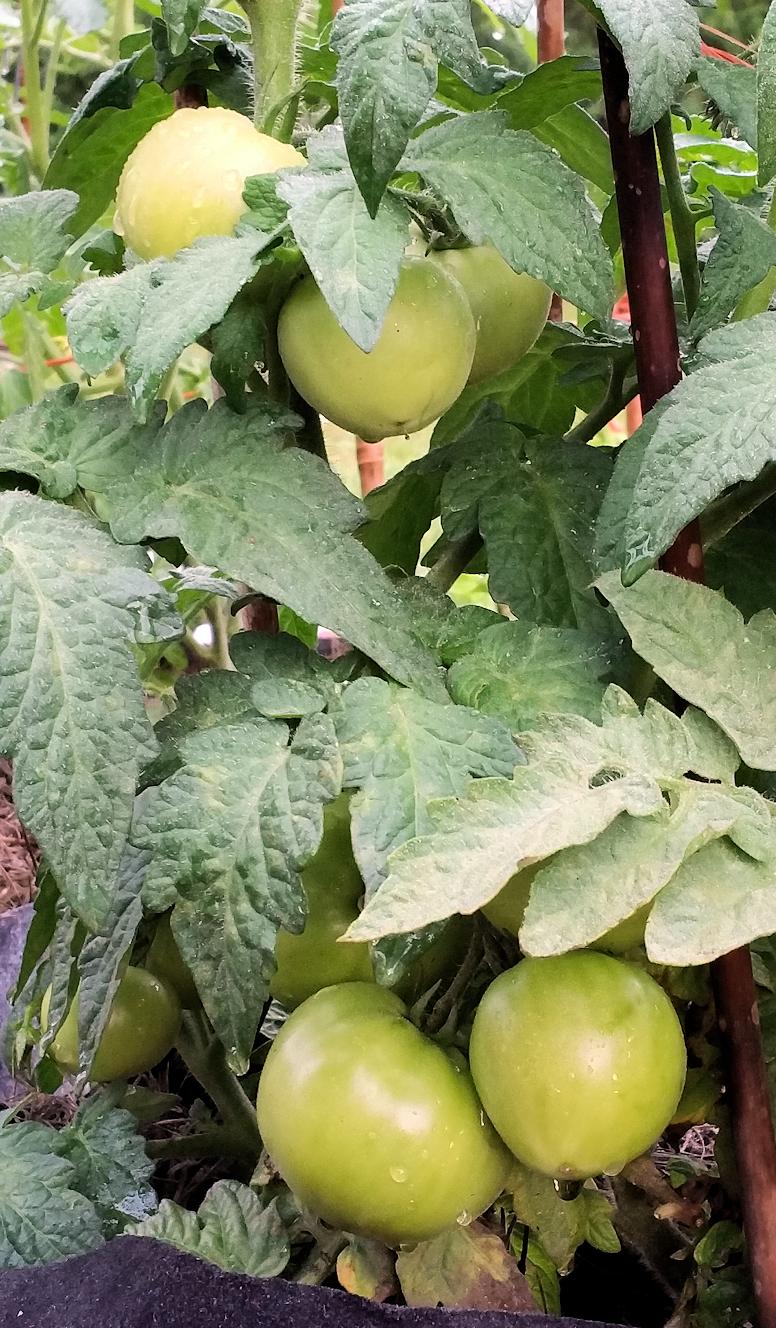
Better Bush Tomatoes
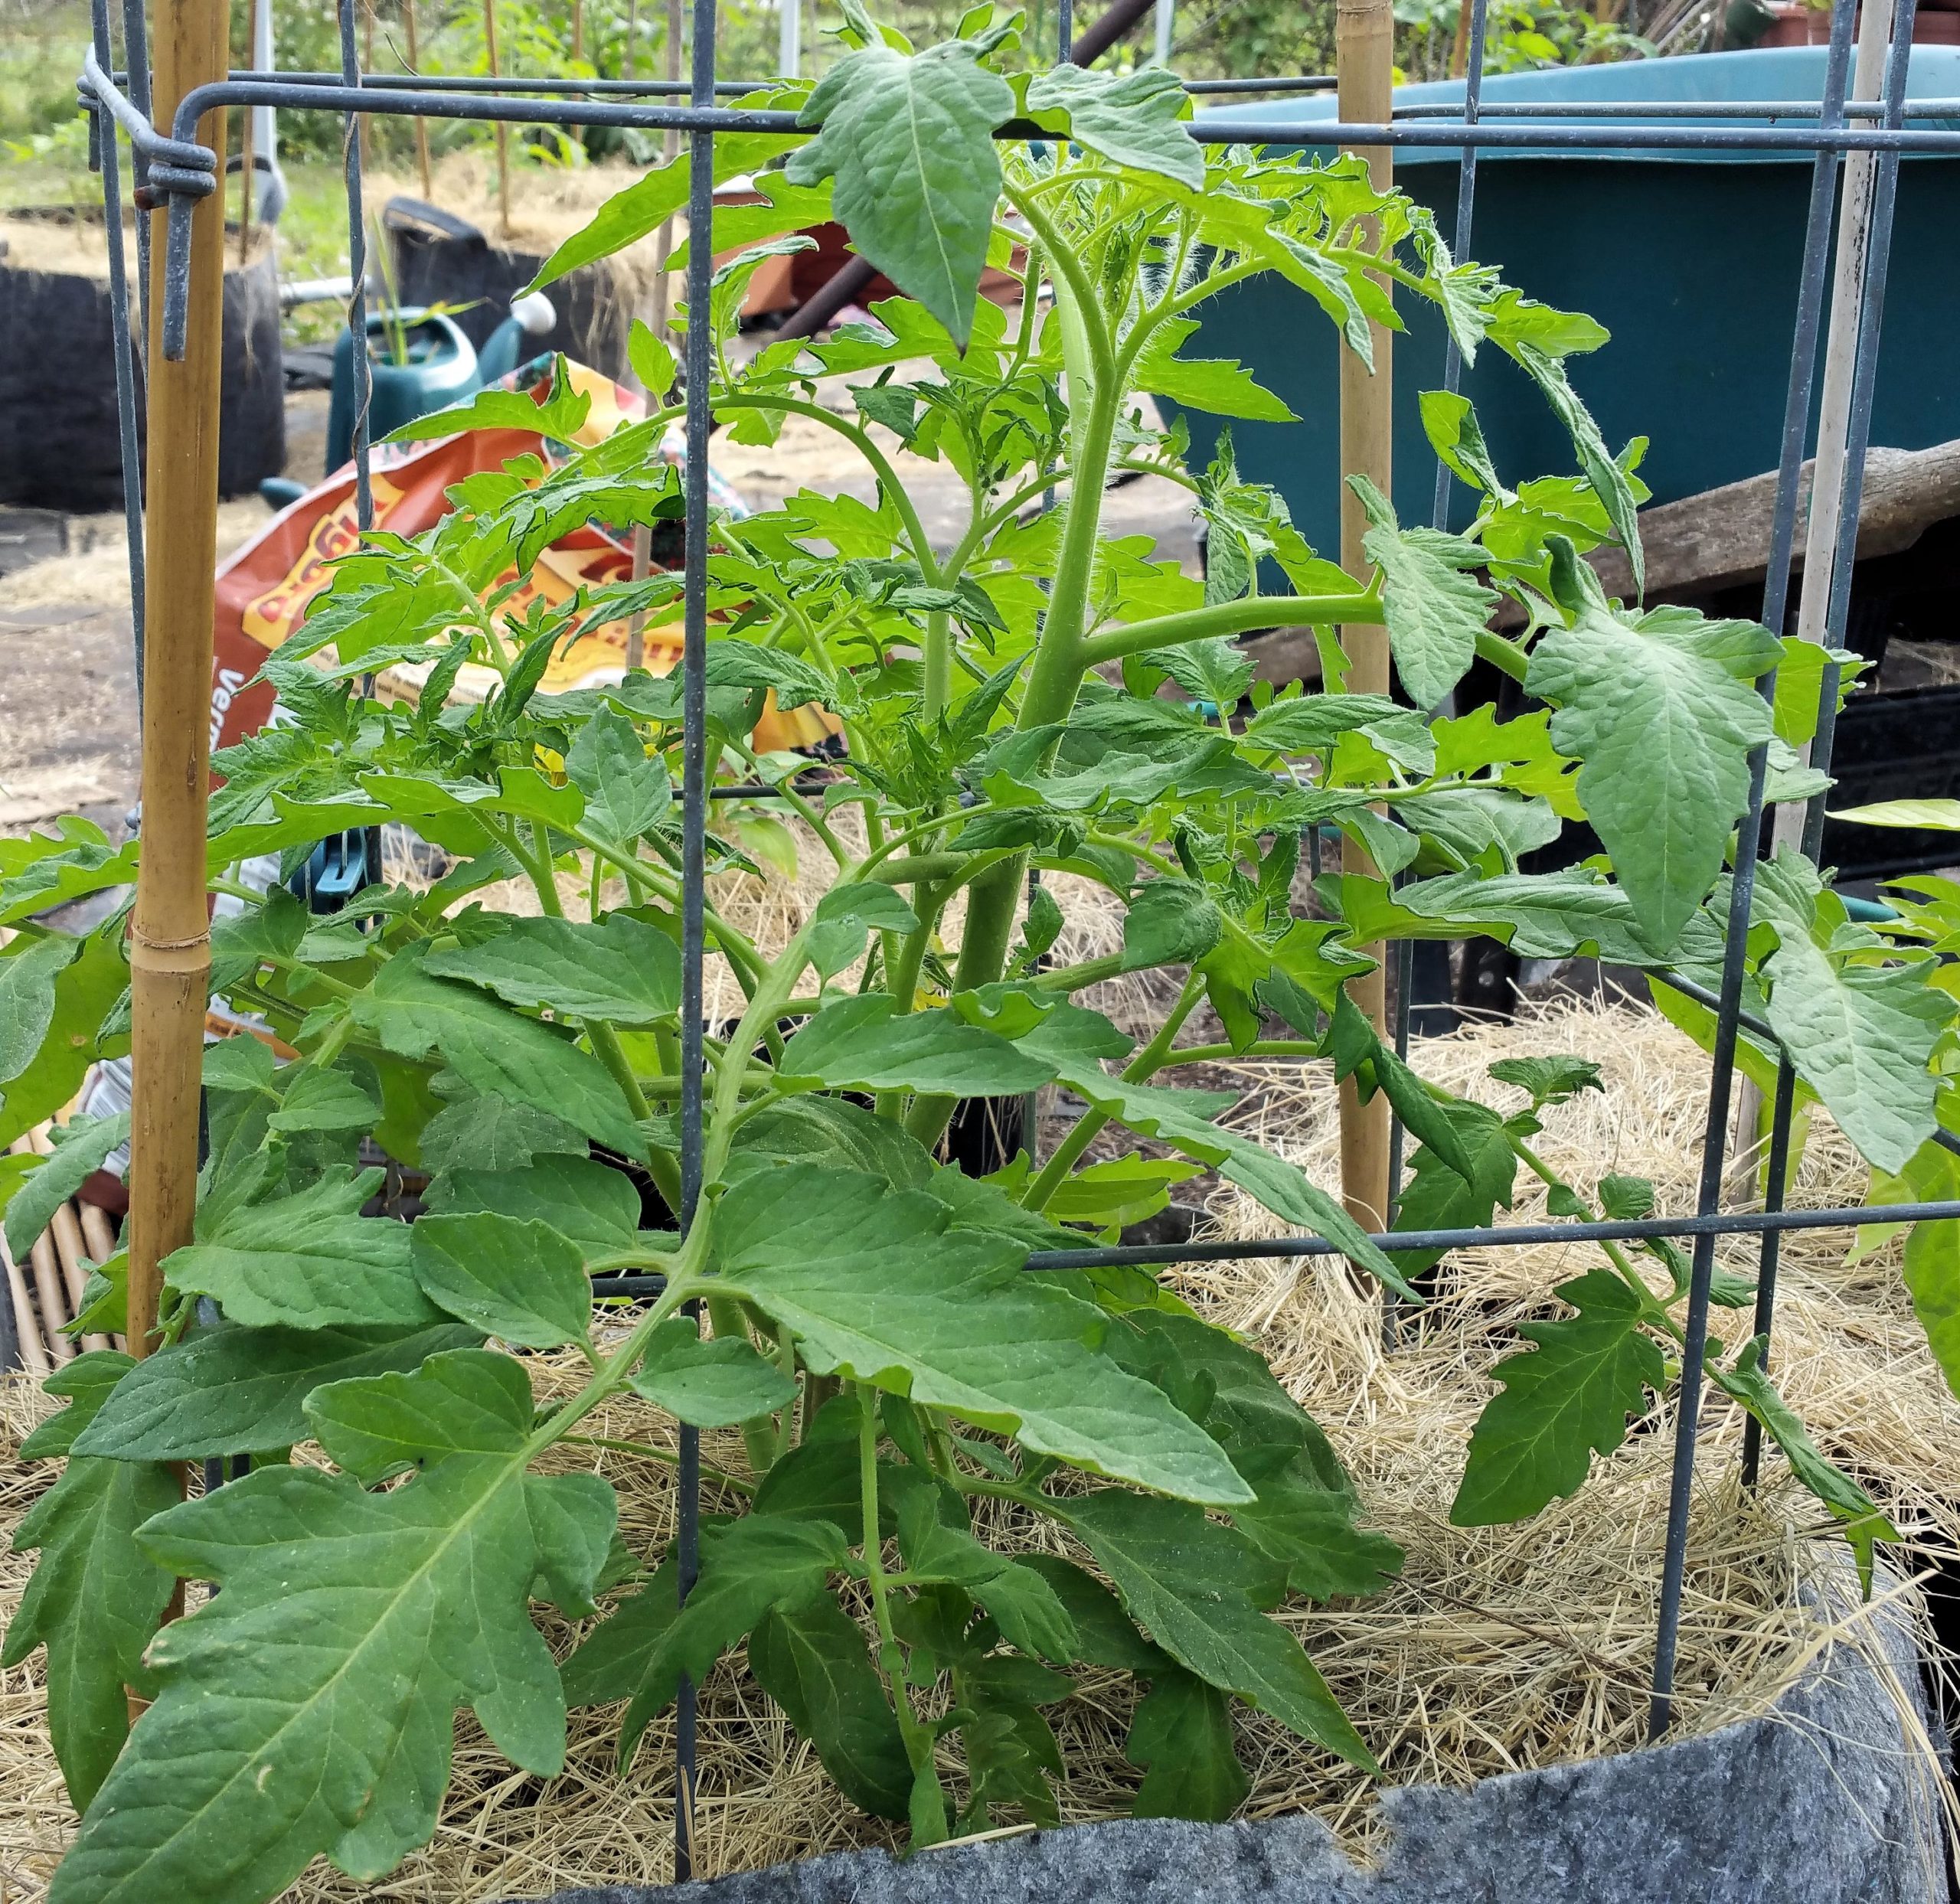
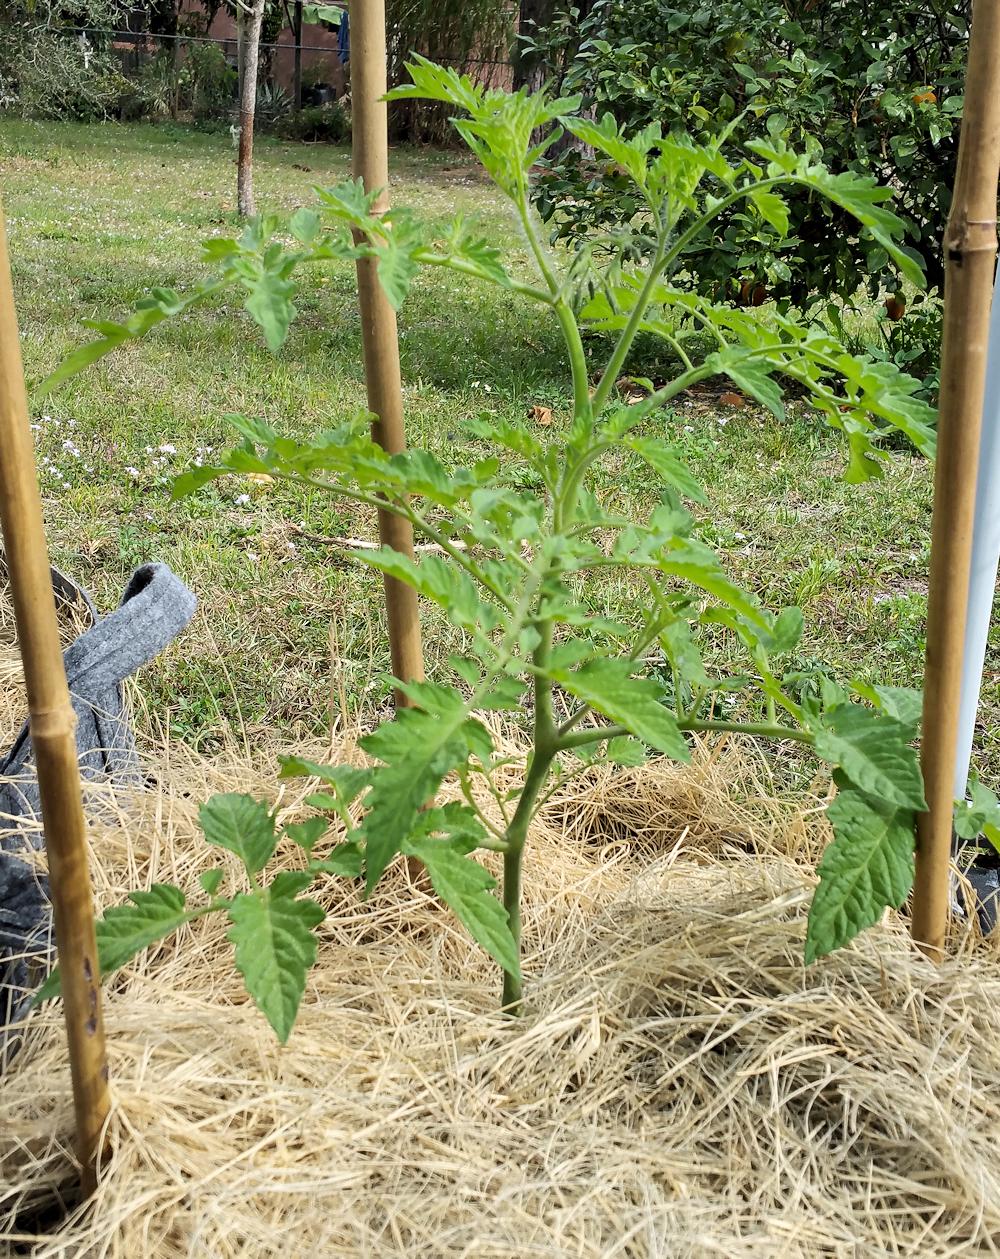
Better Bush
This is such a pretty plant – I love the rugose foliage and deep green color of the leaves. Better Bush is a determinate – the only one I have in the garden at the moment. It’s not a large plant at all, but it’s loaded with fruits. The tomatoes don’t get to be very large; maybe in the 3 to 4 ounce size range — but they are abundant. Better Bush is a hybrid.
I’ve grown this tomato variety in the past and it never fails to give me a nice harvest. It might not look it in the photo, but the plant actually has lots of tomatoes.
Maybe they aren’t the biggest tomatoes, but nevertheless they taste great when fully ripe. Yum!
Red Beefsteak
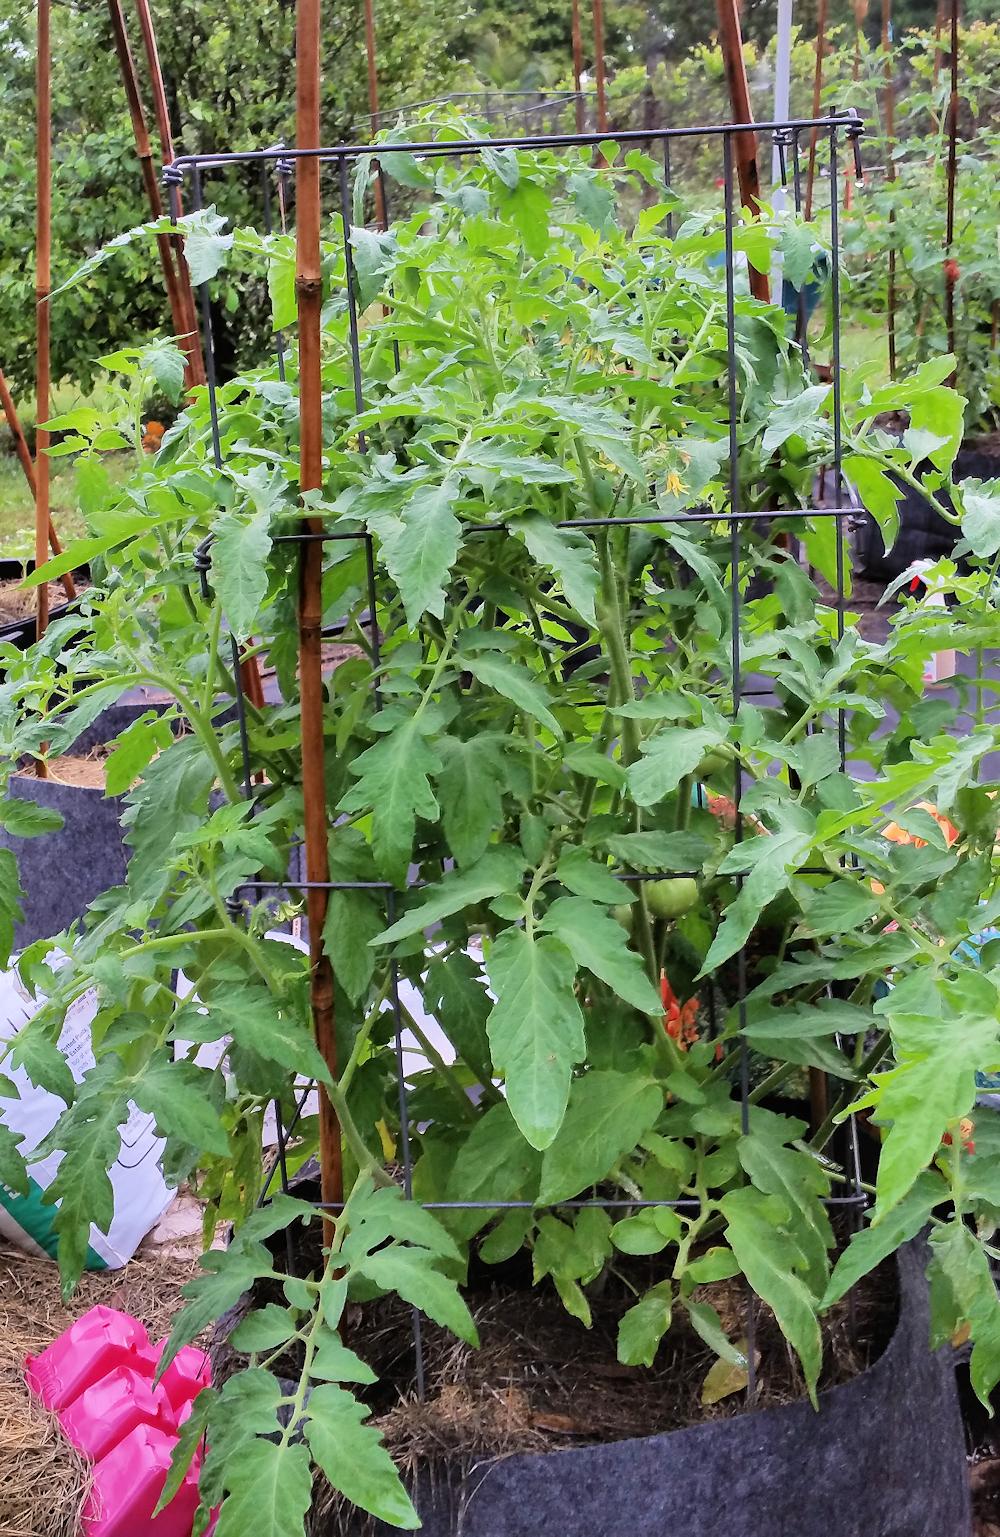
Red Beefsteak Tomato Plant
I have two of these open-pollinated tomato plants, and they are gorgeous at the moment — big and lush and full of both tomatoes and blossoms. One is doing slightly better than the other, but not by much. Even though they are container-grown, these should give me some 12 ounce to maybe a pound beefsteak-type red tomatoes. A lot of them. 😉
This plant in the photo, as well as its sibling, have reached the top of the cage already, and I have about 6 to 8 weeks of decent growing weather left (after which it gets super-hot). I expect that it will keep growing during the summer; I just don’t know how well (or if) it will produce fruit then.
BTW, having grown both in-ground and in large containers, I can say it’s a fallacy that you can’t get a good harvest of big tomatoes from a container tomato plant. But more about that in another post.
And the Big Disappointment….
Big Boy and Early Girl ran into a problem a couple of weeks ago — they got waterlogged. Between me getting a little over-zealous with watering, a plastic mulch cover that kept in the moisture and cooler temps, the plants were almost swimming. I corrected the situation, but they looked really sad — even though they both still had tomatoes. Both plants are hybrids.
Since then, Early Girl has perked up some; she’s put out new suckers, started flowering more and also setting more tomatoes. She still looks spindly but seems to be coming back from her near-drowning experience.
But Big Boy…I don’t think he’s long for this world. Almost overnight it’s developed what looks like rust on its leaves. Granted, we have had a lot of rain in the past week, but none of the other plants are reacting this way.
I’ll try some mild organic fungicide, but if it’s not showing signs of improvement in the next few days — out Big Boy comes, tomatoes or not. I have plenty of other tomato plants at the moment, so losing one isn’t the end of the world.
What’s Up Next?
In the next garden update, I’ll talk about the trials and tribulations of Juliet, and how Cherokee Purple and Husky Cherry Red are doing. Plus — I have the Isis Candy Cherry “wannabes” in the garden, and they are growing like there is no tomorrow. I’ll talk more about the experiment I plan to run on two of them, to see if some new organic supplements live up to their claims.
Compost Tea – How to Make It
If you’ve been gardening for awhile (and maybe if you’ve just started), you’ve likely heard about something called “compost tea”. It’s organic, good for your plants and acts as a fertilizer. And while you will have to make it yourself, it’s pretty easy. Want to learn more about this tea — how to make it and how to use it? Read on!
What is Compost Tea?
It’s kind of what it sounds like — a liquid that is created from compost and/or additional ingredients. It can be a “steeped” variety, or a “brewed” variety. They both feed the soil, which in turn feeds the plants. However, they go about that feeding in a different manner.
Depending on what you put into the tea, it can act as a fertilizer, a (good) bacterial/fungal agent, or both. It can be watered in or used as a foliar feeding. Let’s find out what’s needed to make this tea.
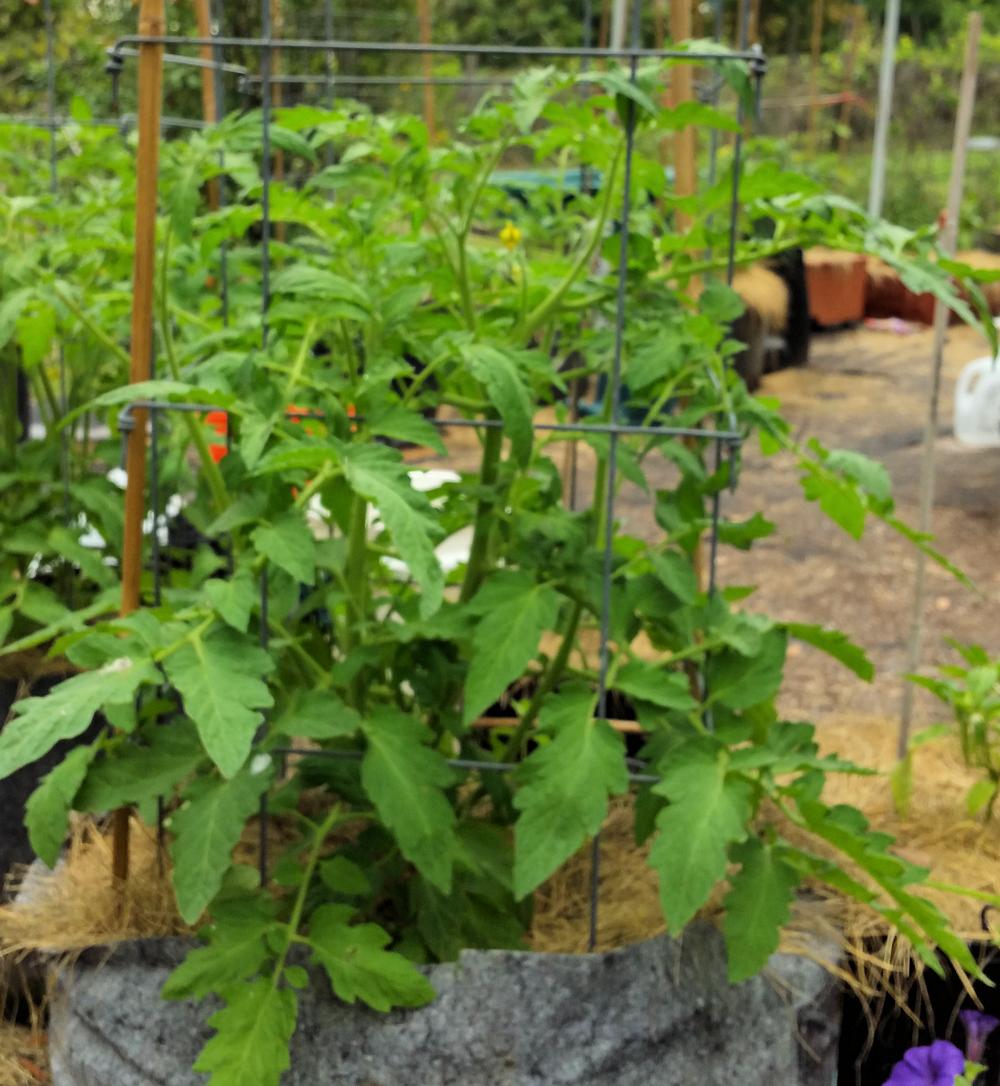
Red Beefsteak Tomato Plant, Before First Compost Tea
(By the way, it’s not only just for tomatoes — all plants can benefit.)
Does it Work?
The first thing you might want to know is — does it really work? From using it myself, I can whole-heartedly agree that it does work. I put off using tea for quite a few years, because I thought it was too much of a pain to make. Turns out it can be very, very simple (or as complex as you want).
Personally, I use the simple method – at least for now. And I have to say that within literally 2 days, I saw a significant change, for the better, in the majority of my plants. Within 4 days, all the plants had responded favorably. In a previous post, I mentioned that one of my tomato plants had doubled in size within a week!
And it’s all organic!
The Steeped Method of Compost Tea
This is super-easy. I make it in 5-gallon buckets, but you can scale it down or up as needed. Here’s how to make it:
- Take a 5-gallon bucket, and into it put one heaping trowel (a small hand shovel) of fresh compost or two heaping trowels of bagged compost.
- Fill the bucket to the top with water.
- Let it sit at least overnight, and even better is 24 hours.
- Use it while watering your plants. First water normally, then add a cup or two of the tea to the base of each plant, depending on the size of the plant.
Same Plant, 10 Days After, With 2 Doses of Compost Tea
You can use it immediately, or within a week of making it. Either way, give it a quick stir before you use it. Note: It should look really dark, like coffee or a really strong tea. If yours is more like weak coffee or tea in color, just add some more compost next time.
You can also use worm castings in place of some or all of the compost, or in addition to the compost. And if you like, add in some liquid kelp — maybe a tablespoon or two.
You can use this for foliar if you like, but I think just watering it in works just as well. I used just worm castings for my first two batches, but my next batch will be a half bagged compost and half worm castings (1 trowel bagged compost + 1 trowel worm castings)
The Brewed Method of Tea
It’s a little different, and takes a little more effort. This kind of tea basically encourages good bacteria and fungi by feeding them, and then it is sprayed onto the plants as a foliar or using it as a supplement to watering. There are lots of companies that sell a brew mix that is ready to use, or you can make your own. Either way, the process is pretty much the same.
Use de-chlorinated water. If you have chlorine in your water, either use a chlorine filter or just put water in a bucket and let it sit overnight (or better, 24 hours) to let the chlorine dissipate.
Put together the following in a 5-gallon bucket along with your water:
- 1 trowel of compost (or, worm castings)
- 1 tablespoon of molasses (blackstrap, if you can find it — otherwise regular)
- 1/4 teaspoon humic acid
- 2 tablespoons of liquid kelp
Stir together to mix thoroughly. Then you will need an oxygen source, like an aquarium pump with tubing and an air stone.
With the aquarium pump outside the bucket and the air stone in the bucket (connected to the pump via tubing), run the pump and let the tea brew for at least 4 hours — 8 hours is better.
Use immediately as either a foliar feeding or a cupful after you water your plants. You’ll need to use it quickly, as this doesn’t keep well. If you can’t use it all in one day, you will need to keep the air stone in. to continue the oxygen.
Variations
If the above brewed recipe isn’t quite to your liking, there are quite a few companies that sell a product that is ready to brew. All you need to do is add the de-chlorinated water and air stone, and then brew the length of time recommended in the instructions you receive with the product.
Note: Also follow the directions for how to use the finished tea — some products require you to dilute it further before using it on the plants.
Using Compost Tea
This post is already pretty long, so I’ll do a separate post for how to use compost tea. As soon as I have the post written I will link to it.
My First Big Tomato of Spring (And Updates)
Early Girl Tomato
I already had some small-sized tomatoes in my Winter/Spring garden and I mused on which of the larger tomato variety would set fruit first. I speculated it would be between Big Boy and Early Girl.
Big Boy had blossoms open first — but Early Girl managed to set the first fruit! (She just kinda snuck right in there.)
I have some surprising (to me) updates. And yes, I do plan to have a video walk-through, but I thought I’d wait until I actually had a little more going on — it’s always nice to be able to show larger tomatoes, rather than have to get super-close for the itty-bitty ones.
Update
My first update is that I have my Isis Candy cherry tomatoes in the garden — I finally got around to taking them off my windowsill and into larger (temporary) pots in the garden. I actually ended up with four plants, instead of the three I mentioned before. But — I still do plan on an experiment when they get into their final homes.
The experiment involves two new humic acid products — TeraVite and Extreme Blend. I keep hearing that humic acid will help your plants (of all kinds) grow bigger, stronger, etc. So — may as well put them to the test! I was only expecting three I. Candy plants to grow large enough, soon enough. But…with four plants, I may throw in another test — one plant may get Miracle-Gro (I have a ton of it leftover, so may as well use it up) and the final plant will be the control.
Black Cherry Tomato Plant
Should be interesting!
Surprises
I mentioned previously that my Black Cherry tomato plant was just languishing — wasn’t dying, wasn’t growing — just looking like it did when I planted it. Of course, a couple days after I said that, what do I see? The plant has taken off! It was so sudden that I wondered if someone had come in the middle of the night and put a new plant in its place.
(The “secret sauce” is worm compost tea, which I’ll talk about in another post.)
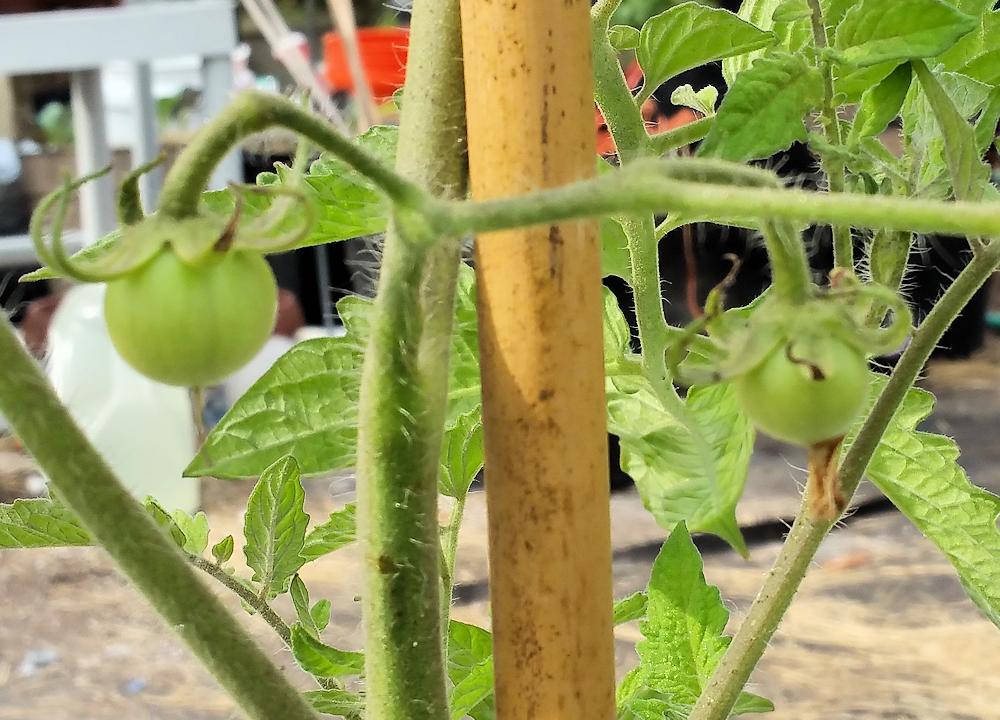
Another surprise was Big Beef. It had been going gangbusters, until I had to transplant it to another pot (which had been invaded by fire ants). It seemed to be OK at first, then just stopped in its tracks.
Big Beef Tomato
I guess the worm compost tea did some magic on it as well, as I see a small ‘mater on it — woo hoo!
I am very much looking forward to having some homegrown tomatoes. I have some lettuce growing (which has been delicious), but I need some delicious tomatoes, too! It’s hard to wait, but with any luck, the first of the cherry tomatoes will start ripening within about 10 days.